A while back, I made a monopod to use with my camera. Handy thing to use when I don’t feel like lugging around a tripod. Also serves as a nice walking stick.
On one of my last visits to Radio Shack, I picked up two telescoping antennas thinking that I could use them as dipole elements.
Add one section of aluminum angle stock, a bulkhead BNC jack, a couple 1/2″ 4-40 screws and nuts and now I’ve got a telescoping 2m dipole antenna attachment for the monopod.

It took me a while to figure out how I was going to insulate one of the telescoping elements from the angle stock. While I was studying the problem, a solution struck me: plastic wall anchor. Worked perfectly.
Tuning the antenna was a simple matter of adjusting the length of each telescoping antenna to get close to 1:1 across the 2m band.

Looks pretty good. I’ll check it again outside over the weekend and try it out with the HT.

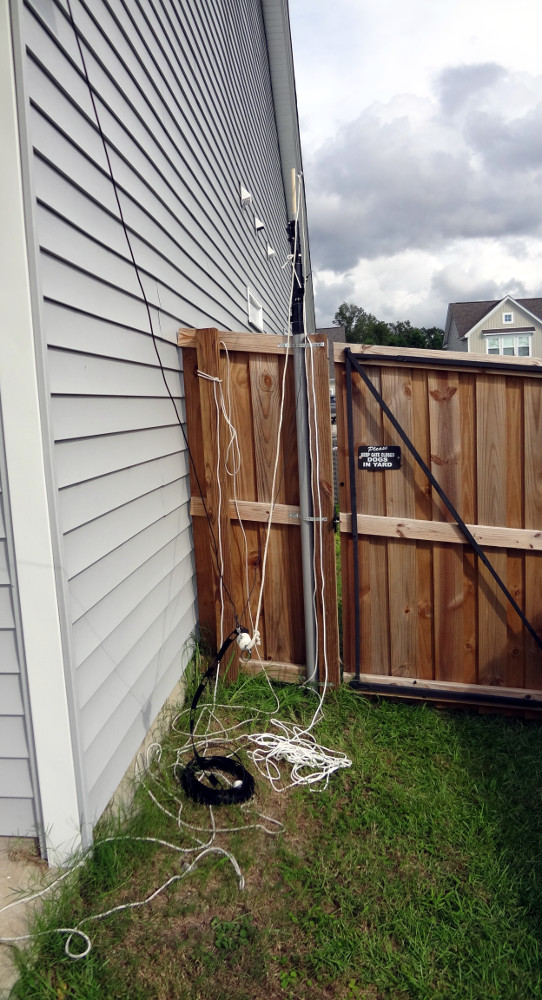
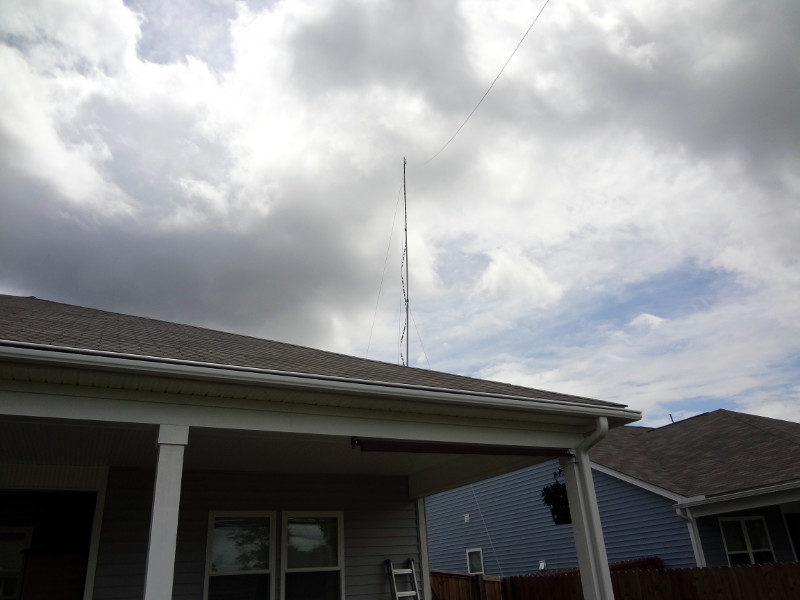
If I hold it up in the air by the base of the pole, I can get the antenna about 2.5 m up in the air. I’m hoping I’ll be able to reach the two repeaters that are about 8 miles away a little better than I can with the HT antennas I already have.