SoftRock SDR radio kits

The SoftRock SDR radio kits I ordered arrived in a little box yesterday. The SoftRock Lite II receiver and the SoftRock Ensemble RXTX kits I got both contain a lot of bits and pieces to put onto relatively small boards.

The SoftRock Lite II and RXTX kits.

It will be a little while before I’m ready to tackle either of them. The receiver kit looks like it will be the easiest to start with. There are a few SMT components to put on, but not as many as the RXTX kit.

Adventures in electronics

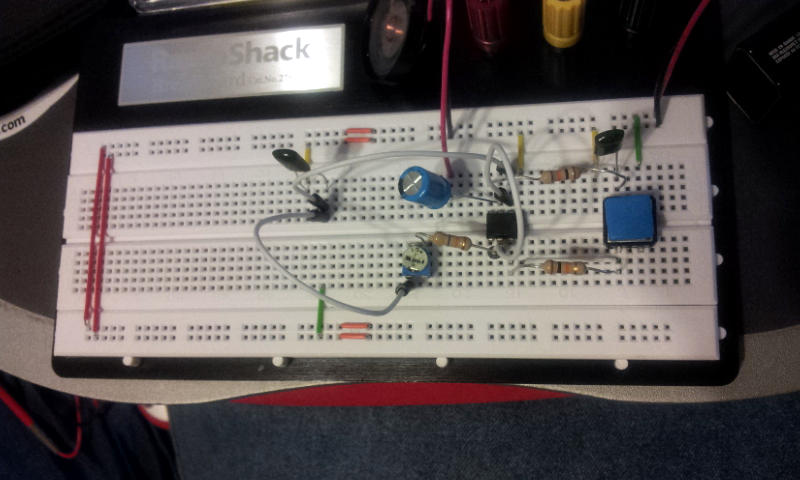
Finally found some time to sit down with all the bits and assemble a second Morse code key using the supplied schematic. At first it didn’t seem to work, but after checking through everything I found one of the speaker wires wasn’t fully inserted (short lead). After I fixed that, it buzzed at me when I clicked the button! The button is the clicky kind, so it’s not that well suited for doing Morse code, but it works! The buzzer was also a lot louder than the kit, which I later discovered was due to me forgetting a resistor between the final capacitor and speaker.

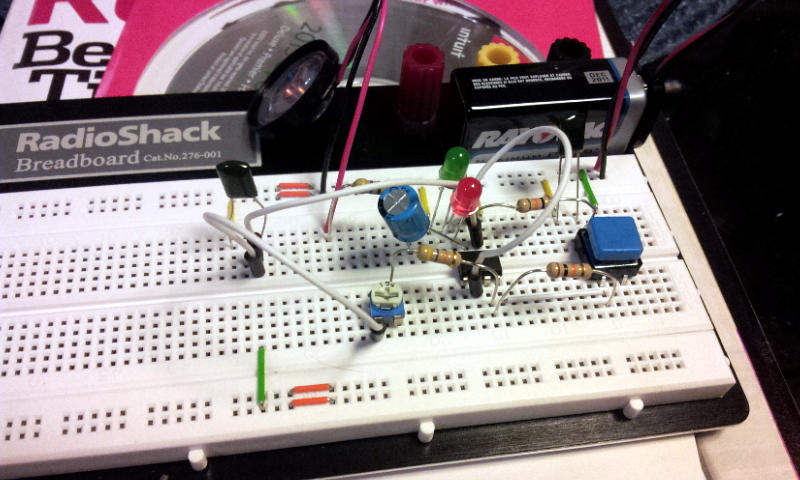
The next step was to make it light up in addition to buzzing. Spent some time looking at the schematic for a place to insert an LED that I didn’t think would make it go poof or fry anything. Put in a red LED and connected it to ground, pushed the button and it lit up! Then I decided to try a second green LED in series with the red, and they both lit up! Success!

A variable resistor instead of the fixed resistor in front of the speaker I think should give me some volume control, so I’ll try that next. I need to get one first.

Morse Code key 2

The kit I built has been pretty fun to play with, and I’ve got about 6 letters so far that I remember the code for and what letter it represents. There are a few more codes where I have to think about what letter it represents. I’ll be able to start testing myself by listening to some code and trying to interpret it.

In the meantime, I thought it would be cool to start experimenting with the basic kit. Stopped by Radio Shack yesterday and was able to find all the circuit components and a breadboard to recreate a second key. The plan is to lay out the key on the breadboard and get it working, then experiment with some mods. First mod I’d like to try is to insert an LED that lights up when the key is pressed so that it blinks as well as beeps. Then maybe add some volume control. I think there’s a good bit of room for playing with the kit.

I’m also going to need some parts bins for the workbench.

Dit dah-dah

I’ve managed to successfully build my first electronics project since the light box I built back in Industrial Arts class in Junior High school.

After seeing one of these Morse code key kits at the Dragon*Con ham radio table I helped out with, I decided they were pretty cool and that I should try to build one. Just the thing I need to help me learn and practice Morse Code/CW.

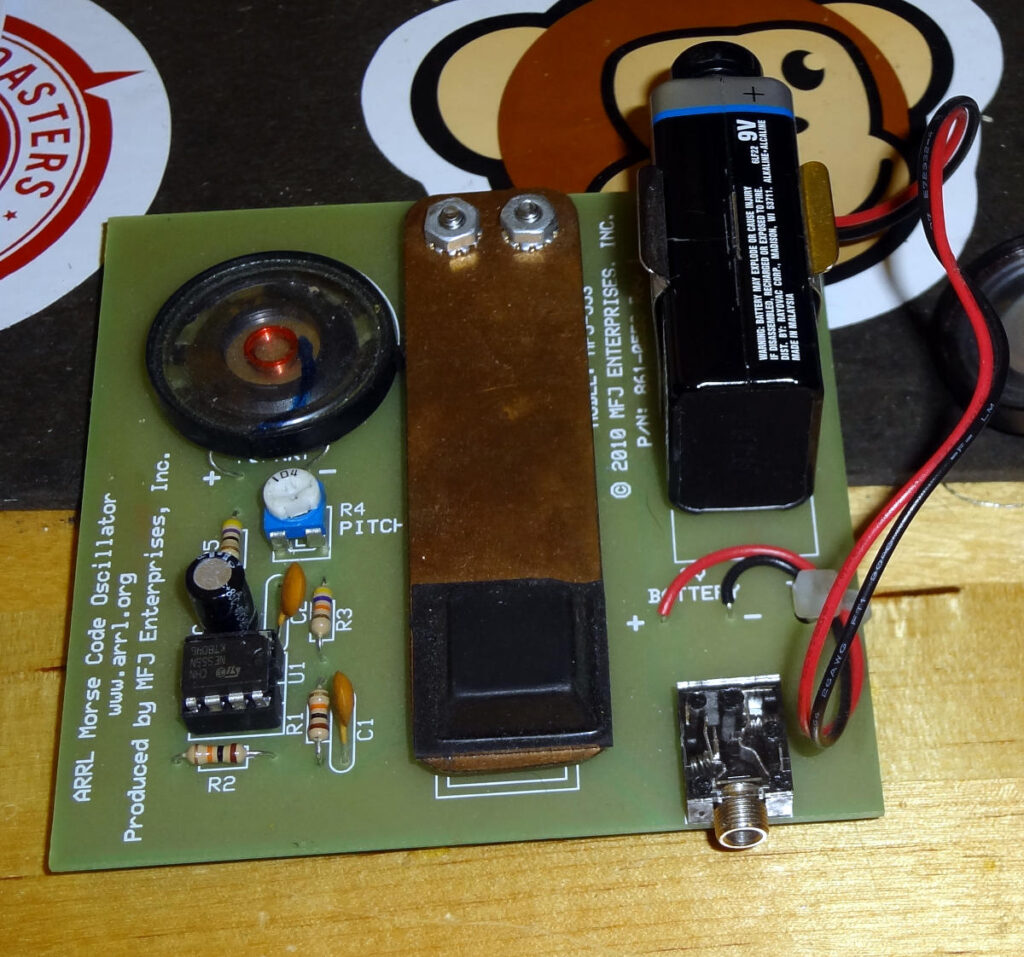
It’s a pretty simple kit without a whole lot of components. Everything’s all made up, so it’s just a matter of sticking the right electrical bits into the proper holes and soldering them into place. It’s been a long time since I soldered anything. I practiced a little bit on some old laptop power supply parts I had laying around, then went to work on the kit. The inexpensive soldering iron I picked up at Radio Shack a while ago did an ok job, although it seemed like it took a while to heat things up enough to melt the solder. Fortunately the solder stayed in the places I wanted it to be and I didn’t make any short circuits.

ARRL Morse code oscillator

I also put my Cold Soldering iron to work on a few parts, which actually worked reasonably well while the tip lasted. Because of the gap it uses in the soldering tips, the cold soldering iron works fine for large things, but is ineffective for small soldering jobs.

Total time was maybe 2-3 hours. If you’re good at soldering, it’s something that could easily be assembled in an hour or less. My soldering isn’t great, but everything works. Kind of tempted to get another one…maybe lay it all out on a breadboard and experiment with modifying it.