Mini code practice oscillator

I’ve been wanting something small and portable that I could carry around with me for doing Morse Code practice. The Heathkit HD-10 oscillator is fun to play with, but kind of big and chunky to haul around. The ARRL code oscillator is small and portable, but the buzzing sound gets kind of unpleasant to listen to after a while.

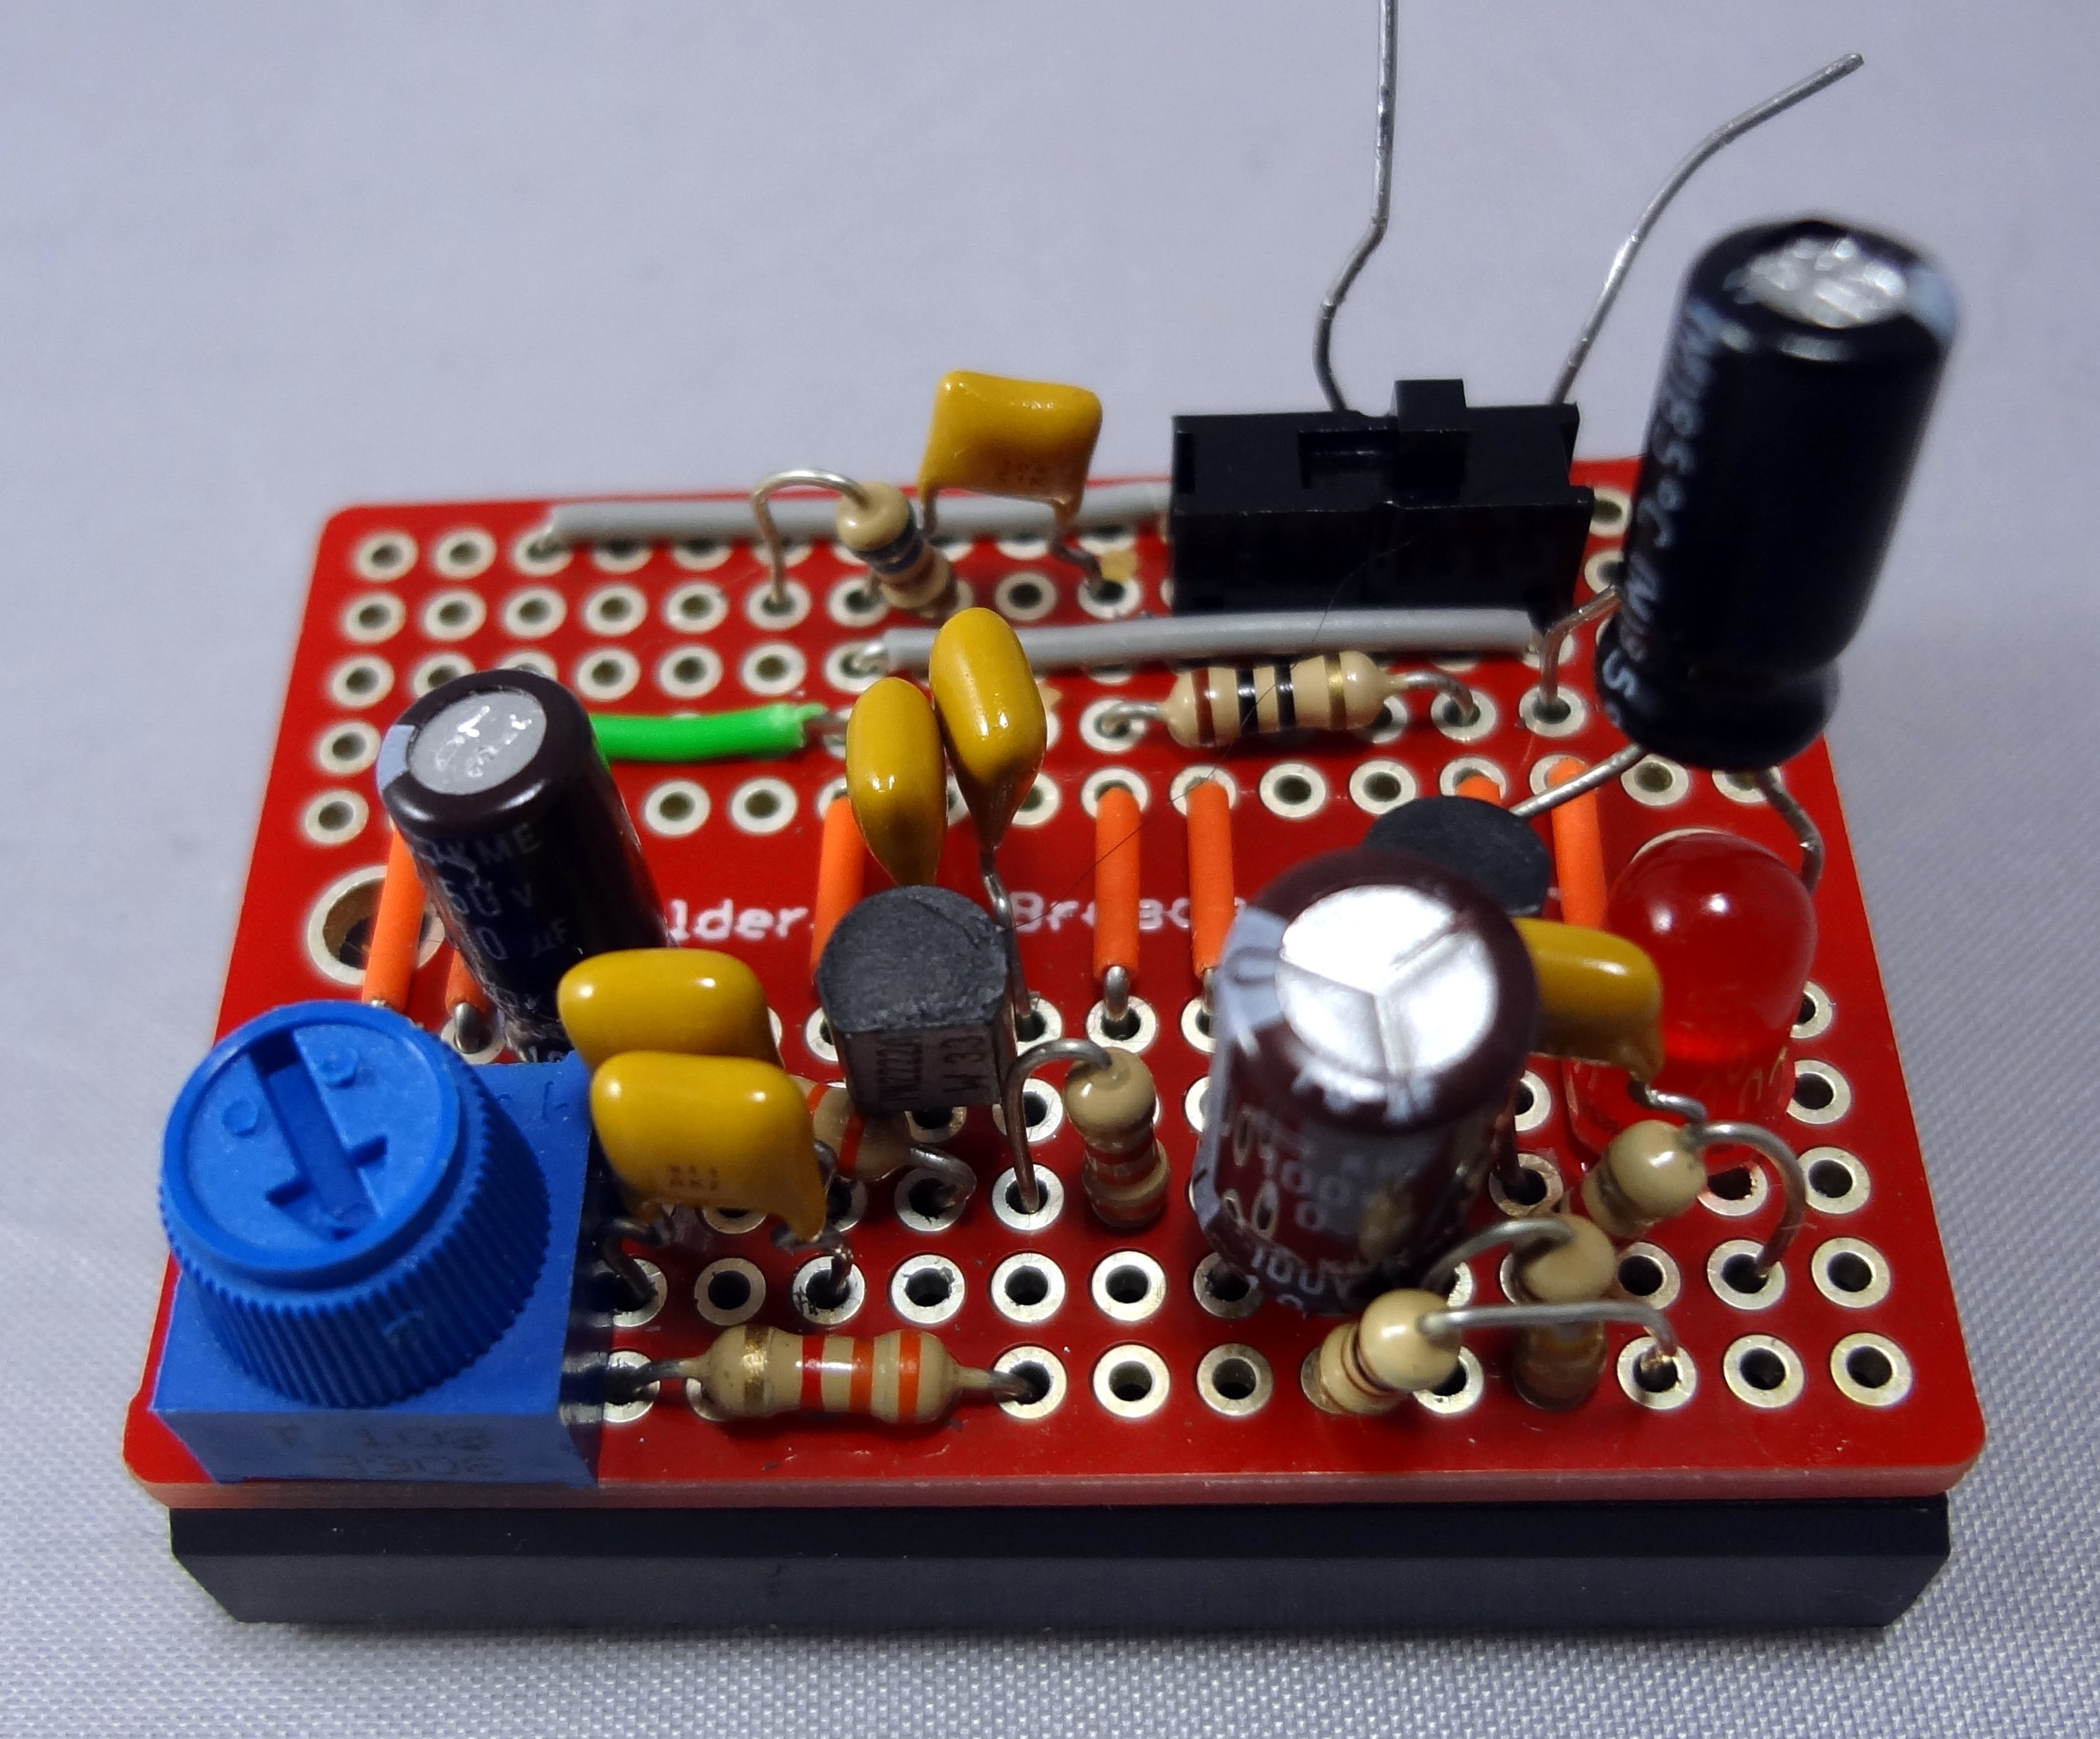
Then I found Jason’s/NT7S schematics for his code practice oscillator (CPO) in his blog and decided to build one. I gathered up the pieces and tried to assemble it on a breadboard a while ago but got distracted by other things and never quite finished.

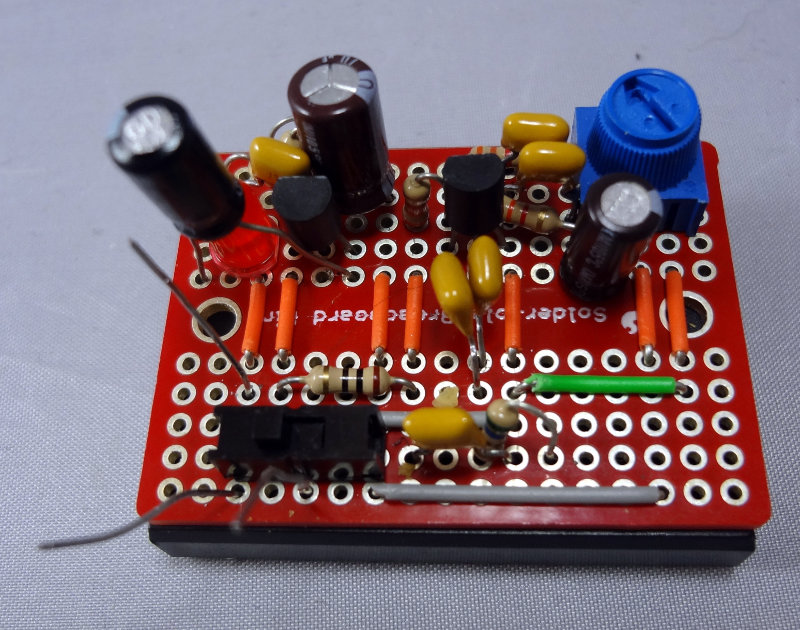
With the acquisition of some solderable mini-breadboards from SparkFun and the perma-protoboards from Adafruit, it was time to get back to the project. The Sparkfun mini breadboard fits perfectly on top of one of their modular mini breadboards so I put the solderable breadboard on top of the modular breadboard and started laying out the components. Then, once I’m done all I have to do is carefully lift the solderable breadboard off the modular breadboard and then solder away.

After spending some time staring at the schematic and the breadboard pondering how to lay things out, I remembered a suggestion from the kit building forum at the ARRL Centennial Convention. Build modularly and test as you go so that if something doesn’t work, it’s easier to isolate the problem area.

With this in mind, I started with the power section of the schematic and laid that out in one corner of the board. Add power, flip the switch, LED comes on. Perfect!

The CPO is small and simple enough so that the rest of the circuit pretty much falls into place after that. After a few hours of placing components, double checking placement and debugging, I finally managed to get it working.

NT7S Mini-CPO
NT7S Mini-CPO
NT7S Mini CPO
NT7S Mini CPO

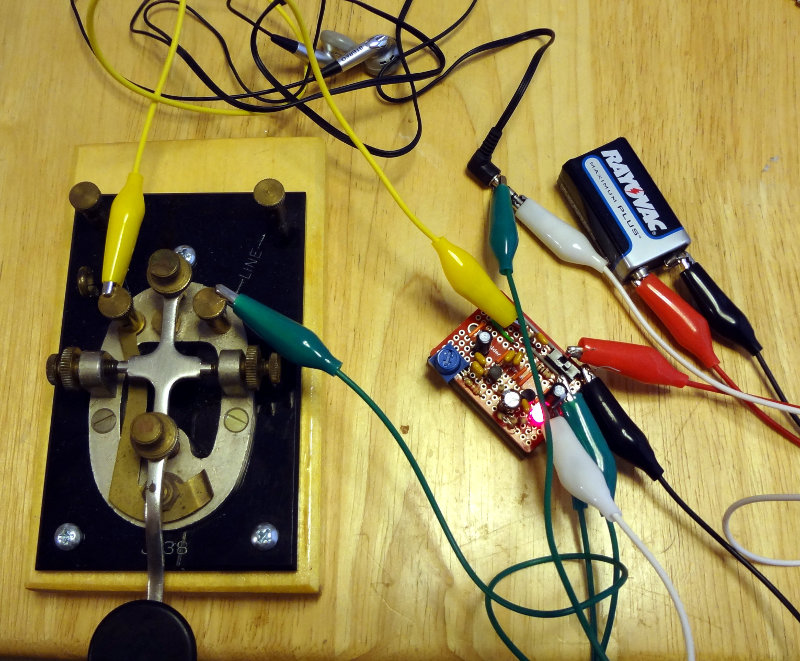
With a few wires, I connected my straight key and connected straight to the plug of some ear buds I had lying around. Tapping on the key yielded some pleasant sounding tones, and turning the pot changed the volume (and frequency a tiny bit).

NT7S Mini CPO connected to the straight key

Now all I need to do is solder everything into place, add some jacks and stick it into an enclosure.

A nice, easy build and I was able to do it all with parts I had on hand.
Getting a Canadian amateur radio certificate

At the ARRL Centennial convention, Connie pointed me toward the Radio Amateurs of Canada (RAC) table after she spent some time talking to them. I spoke to George/VE3YV about RAC and amateur radio in Canada, and in the process learned that because I’m still a Canadian citizen and not a US citizen, reciprocity doesn’t apply to me so I can’t play radio while I’m in Canada.

We talked about me getting a Canadian amateur radio certificate (it’s not a license anymore) while I’m back home in Edmonton in September. Certification exams are given by Designated Examiners (DEs) and if I can find one while I’m home, I should be able to take the test.

Canadian amateur radio certificates come in two flavours: Basic and Advanced. The Basic test is 100 questions with a pass mark of 70%. If you get over 80%, you’re awarded a Basic with Honours (or Basic Plus) certificate. The Advanced test is 50 questions with a pass mark of 70% and gives you the full privileges.

Like the VEC program in the US, Industry Canada publishes the question pool for both tests so preparing for the tests would be a matter of collecting the appropriate materials and reviewing them and the questions.

I’ve had a very quick look at a few of the questions in both pools, and it seems to me the level of knowledge required for the Basic certificate is about the same or maybe a little bit more than the General class license in the US, while getting an Advanced certificate requires a little more electrical and radio theory than the Amateur Extra class.

I’ve got a couple of months to study and get ready. Piece of cake.

A trip to the ARRL 2014 Centennial Convention

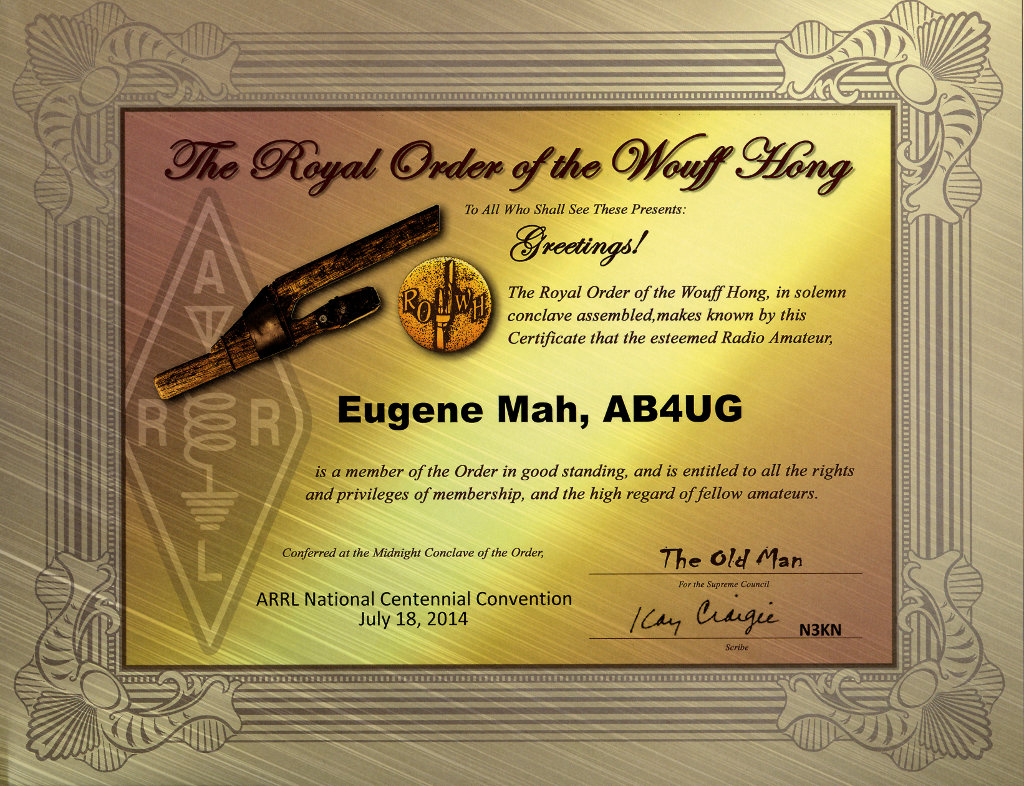
We made the trippilgrimmage to the ARRL 2014 Centennial Convention this past weekend (July 17-20, 2014) in Hartford, CT. Had a fantastic time and we’re so glad we went. We had planned to go a while back, then decided not to go, but then in May (practically last minute) decided that it was an event we needed to go to.

We flew out Wednesday so we could be there for the whole three days. After we got off the plane, we made our way to the bus stop  to catch the bus into Hartford. On the way to the bus stop, we met a ham from Germany, DJ5JH and had a nice conversation while we waited for the bus to show up. We ended up being joined  by a few more hams by the time the bus arrived.

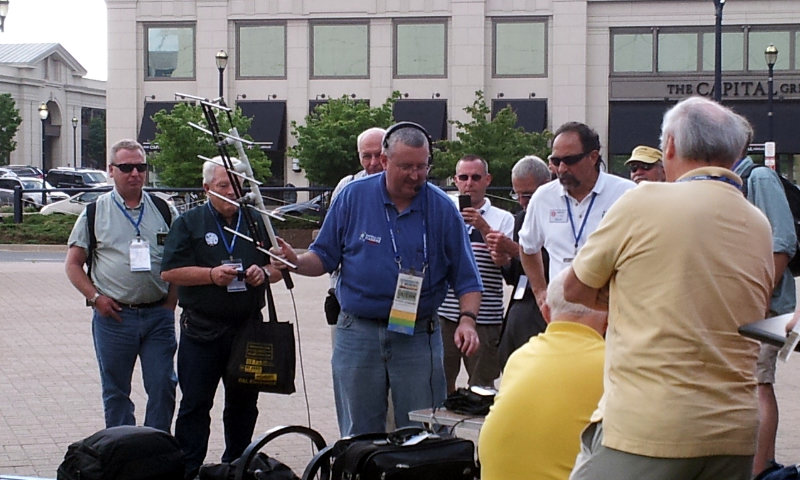
The first day (Thursday) consisted of a number of training tracks. I spent my time in the Intro to Amateur Radio Satellites and learned a lot about the history of amateur radio satellites, how they get into space and how to make contacts through them. Thoroughly enjoyed it and I think it will be another aspect of amateur radio that I will eventually explore. The track ended with an outdoor demonstration of making satellite QSOs through the OA-7 satellite using a handheld antenna and two Yaesu 817s.

Making satellite QSOs

The Thursday training tracks included a lunch with a very inspiring and motivating talk given by ARRL First Vice-President Rick Roderick/K5UR. He told some funny stories about his amateur radio adventures and challenged everyone there to leave an amateur radio legacy and promote amateur radio to youths.

Friday and Saturday was spent in a variety of forums and wandering around the exhibit hall. There was a pretty decent amount of activity in the exhibit hall. Although the flea market area was pretty small, there were a few things I think I might have come away with if luggage space wasn’t an issue. I ended up buying a copy of The Best of Idea Exchange from the QRP ARCI table and ARRL’s Hand’s On Radio Experiments.

There were a lot of interesting non-vendor related tables that were worth lingering at in the exhibit hall. The W1TP Telegraph Museum had a lot of neat old telegraph equipment and a very cool collection of Enigma machines. There was the fully restored 1964 Collin’s Communications Van and the working phonograph at the Vintage Radio and Communications Museum of Connecticut table.

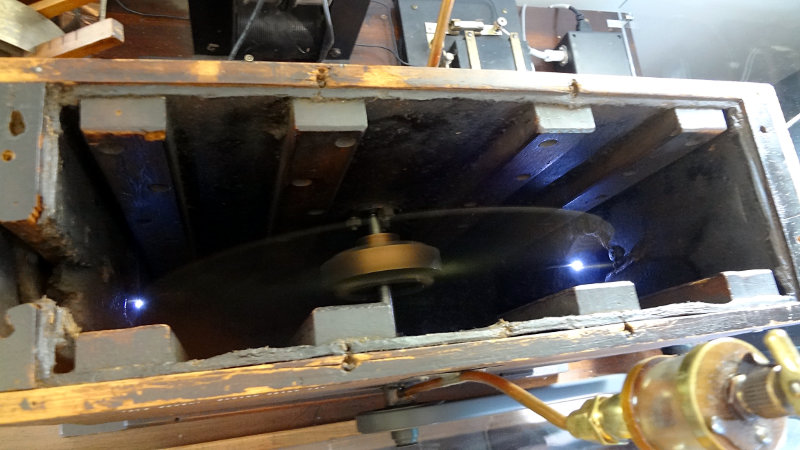
One of the highlights of Friday was the trip out to ARRL headquarters and W1AW. There’s a pretty impressive collection of vintage and antique radio gear, and the ARRL Testing Lab was a pretty neat area, especially for a geeky type like me. They even fired up Old Betsy, Hiram Maxim’s spark gap transmitter, for a little bit. It’s a loud beast.

"Old Betsy", W1AW's spark gap generator
“Old Betsy”, W1AW’s spark gap generator

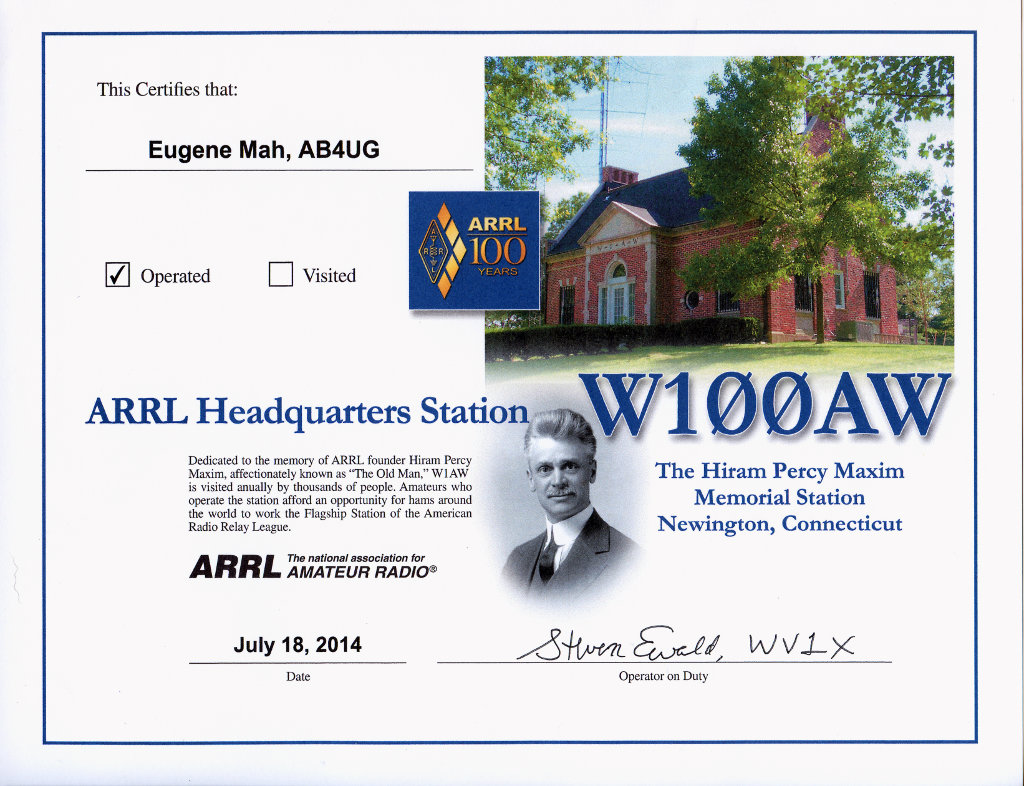
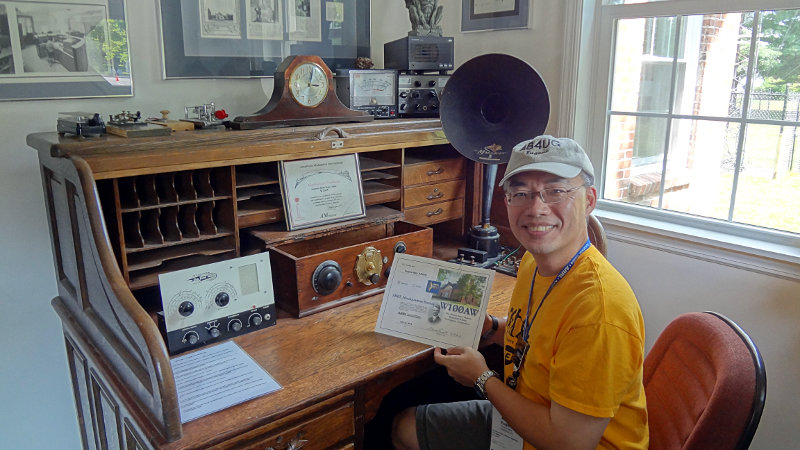
For the convention, operating slots for W1AW were being scheduled in 15 minute windows. I was able to get a slot operating in Studio 1 and operated as W100AW on 20m. Managed to get two contacts in, which I was pleased with. It was pretty cool being able to operate there.

At HPM's desk
At HPM’s desk

Saturday ended up being a pretty low key day. Went to one forum on antenna modeling and spent some time sitting and people watching, and wandering the exhibit hall some more. Had a Twitter/Reddit meetup in the afternoon where I got to make some eyeball QSOs with a few hams. Always nice to be able to put a face to the online persona.

Sunday was our travel day home, and we ended up being joined on the flight to PHL by DJ5JH. Not only was he the first ham we met in Hartford, he was also the last ham we saw when we left.

More pictures from the ARRL Centennial Convention over in the gallery.

Connecting the microphone

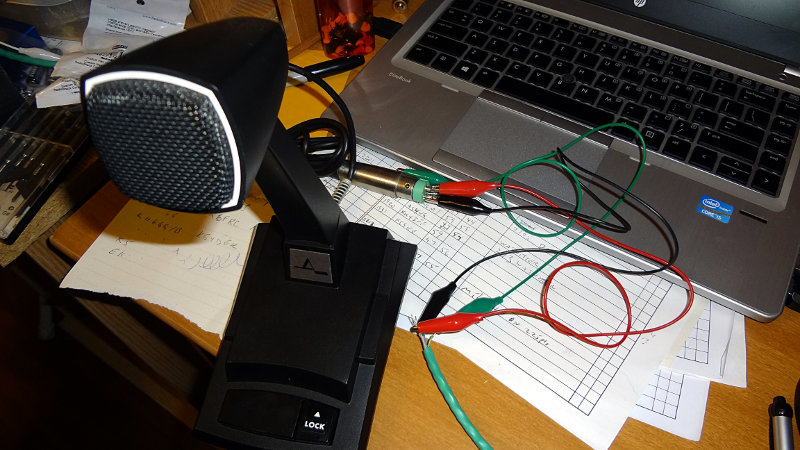
It took a little bit of work and puzzling out wires, but I managed to get the microphone (temporarily) wired up to the radio. In the process, I learned a few things.

  • If you look up the pin numbering for the RJ45 connector (apparently the corrent term is 8P8C), most diagrams have pin 1 on the left side and pin 8 on the right side.
  • Kenwood numbers the modular connector used for the microphone on the TS-480SAT with pin 1 on the right side and pin 8 on the left side.
  • The white and green wires in the Astatic 877L are connected to the PTT switch, but not to anything else. Posts on internet forums say that with Astatic microphones, the white wire is usually the MIC AUDIO line. In the case of this microphone, that’s not true. The only wires that count are the red, black and ground/shield wires.
  • Ignore the Internet and stick to the microphone wiring label.

I had a short piece of CAT6 ethernet cable on hand, so I cut that in two pieces, stripped the ends and used some jumper wires to connect the microphone to the appropriate wires on the ethernet cable.

Temporary microphone wiring
Microphone wireCAT 6 wireFunctionPin (Kenwood)Pin (RJ45)
ShieldGreen/white stripeGND36
BlackBlue/white stripeMIC GND54
RedWhite/blue stripePTT45
RedWhite/green stripeMIC63

Wired up like this, the microphone seems to work. With TX monitoring on the radio turned on, I can hear myself pretty nicely through the speaker. The meters on the radio move when I talk. I wasn’t able to make any contacts on the radio to get any kind of signal report though.

With only three connections to make, it should be pretty simple to replace the existing microphone cord with my length of CAT6 cable. The only thing I don’t like about this wiring scheme is that it puts mic audio on the radio’s PTT line. Although the radio didn’t seem to protest during my testing, I’m not sure that’s a good thing.

I think I’ll test out this alternative wiring as well

Microphone wireCAT6 wireFunctionPin (Kenwood)Pin (RJ45)
Shield/Green (F)Green/white stripeGND36
White (E)White/blue stripePTT45
Black (A)Blue/white stripeMIC GND54
Red (C)White/green stripeMIC63

This will separate the mic audio and the PTT lines which, from the radio’s perspective, seems to make more sense.

I wonder if I’ve got a rocker switch in the junk box that I could connect the UP/DOWN lines to. I think there’s enough room in the mic base where I could make an opening and add it in.