Building the Etherkit Si5351 breakout board

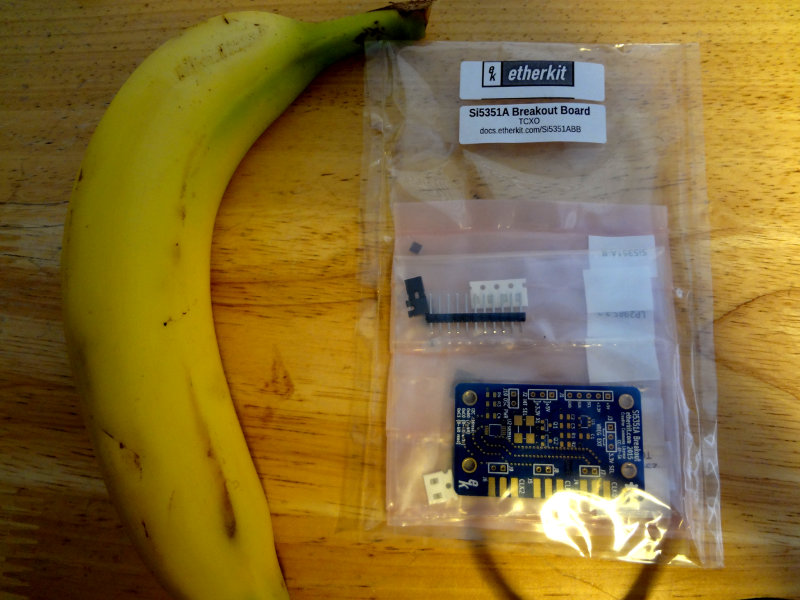
Spent some time at the workbench putting together the Etherkit Si5351 board that arrived the other day.

Etherkit Si5351 breakout board

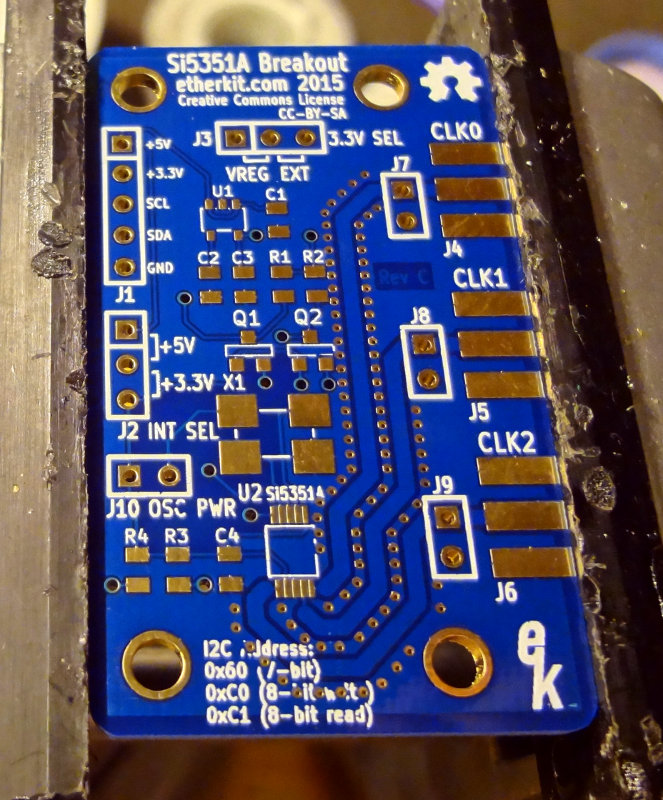
Although it’s pretty much all surface mount, everything is on one side of the board, and the part count is relatively low so assembly is pretty easy. The fine pitch of the Si5351 chip makes soldering it more challenging, but generous use of solder flux helped the solder flow where it was supposed to go.

Si5351 IC soldered on

After the Si5351 came the TCXO crystal. The large pads make this part relatively easy to solder.

TCXO crystal
TCXO crystal

The transistors and 3.3V voltage regulator were the next components to get soldered on. These were pretty easy to do. As with the Si5351, a good amount of solder flux helps with the voltage regulator.

Transistors and voltage regulators

The remaining passive components (4 capacitors and 4 resistors) finish up the surface mount components. These are pretty easy to solder on. Tack down one side with a bit of solder, then solder the other side.

Caps and resistors
Caps and resistors

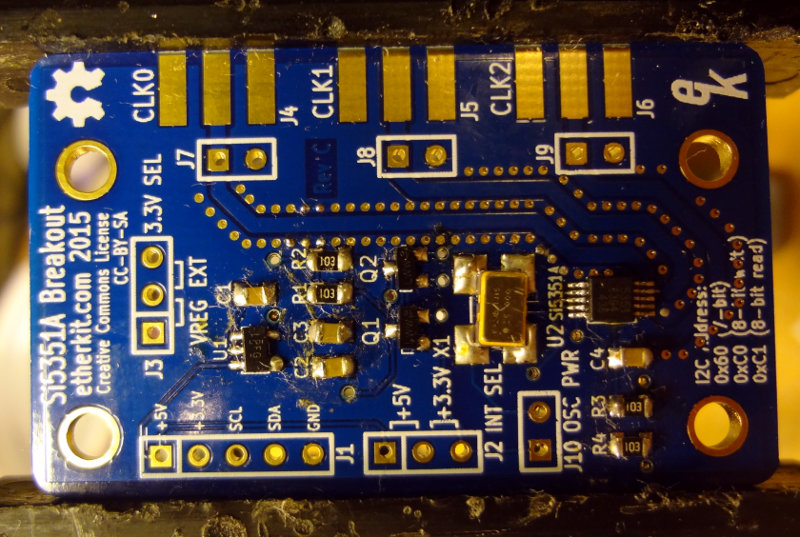
With all the surface mount components on the board, that leaves just the header pins and the edge mount SMA connectors. Easy peasy.

Header pins and SMA connectors

And with that, the Etherkit Si5351 breakout board is finished! Next step is to connect it up to one of my *duinos and see if it works.

I have two more boards to assemble, and some of the things I learned assembling this one should make the other two a little smoother.

Si5351 breakout boards arrived!

The Etherkit Si5351 breakout boards finally arrived!

Etherkit Si5351 breakout boards
Etherkit Si5351 breakout boards (Banana for scale)

It took the Pony ExpressUSPS 13 days to deliver the package from Oregon to South Carolina. According to USPS tracking, it took 7 days for the package to surface in Ft. Worth TX. Then it disappeared for another 5 days before resurfacing in Columbia SC and then being delivered to the house the next day. Using Google Maps to get a rough idea of the distance, the package traveled about 3100 miles in 13 days, or about 10 miles/hour.

I’m looking forward to assembling the boards. Jason did a really good job with the boards. I think the most challenging part will be soldering on the Si5351 chip itself. It’s a pretty tiny piece.

Si5351 breakout board (banana for scale)

I don’t have any plans for the breakout boards yet, but there are the usual suspects: SWR meter/antenna analyzer, signal generator, and maybe eventually a radio.

Etherkit SI5351 breakout board

Pictures of the assembly coming up.

Si5351 breakout board

Jason/NT7S launched the crowdfunding campaign for his version of an Si5351 breakout board last night, and already this morning it’s at over 150%. The stretch goal at $1 500 involves spending some more time on the software library to make the board easier to use.

It’s a neat little oscillator chip that seems to provide a lot of capabilities for not a lot of money. He’s been documenting his investigations on the chip at his blog for the past year now, including building a couple of receivers and transceivers around the Si5351.

The Si5351A is quite a capable IC at a very modest price. It is a PLL clock generator with three independent outputs which can each generate a separate signal from 8 kHz to 160 MHz. A 25 or 27 MHz reference oscillator is used for the two internal PLLs (the Etherkit breakout board uses a 25 MHz reference oscillator), which allows the user to choose the amount of frequency stability and accuracy required.

Go check out the Si5351 breakout board campaign on Indiegogo, and pick one up if it’s something you’ll find useful in an upcoming project.

So long and thanks for the Etherkit

In a bit of sad news, Jason/NT7S has announced that he’s leaving the radio kitting business and putting Etherkit on extended hiatus.

I thoroughly enjoyed putting together the Etherkit kits I purchased, especially the beta version of his CC1. It was my first big kit project, and one of the first using SMT components. It was an educational experience from both the assembly and learning about the different sections that go into a radio. Assembling the CRX1 and OpenBeacon were both equally enjoyable and educational.

Jason’s reduced the price on his very excellent CRX1 kit to liquidate his inventory. If you’re looking for a nice little CW receiver to play with and want to exercise your soldering skills with SMT components, pick one up.

I’m sad to see Etherkit go dark, but I’m sure running a kitting business is a lot of work and time. Hopefully some time in the future he’ll be able to bring it back.

OpenBeacons on the air

With the help of the M3 frequency counter Jason/NT7S sent me, I was able to set the transmit frequency for my two OpenBeacons. The 40m OpenBeacon I built is tuned to 7.0403 MHz while the 30m OpenBeacon from W2MDW is set for 10.139 MHz. Both of them transmit “AB4UG/B FM02AS” using QRSS with a 6 second dit.

I’ve had the 40m OpenBeacon on the air all night, but I’m not sure if anybody saw it. Most of the QRSS grabbers seem to be listening on 30m. There’s one grabber listed that’s on 40m, but it’s listening around 7.0008 MHz. I’d have to replace the crystal in the OpenBeacon to get down that low. I should put some pin headers in the crystal spot so I can change frequencies by replacing the crystal.

I think I’ll try the 30m OpenBeacon running today and see if it gets grabbed anywhere.

(Looks like I’ll have to tweak the frequency of the 30m beacon…most of the grabbers seem to be listening on a fairly narrow 100-500 Hz band around 10.140).

Update: Tweaked the 30m OpenBeacon to transmit at 10.1399 MHz. If you happen to see it, let me know.