A frequency counter kit

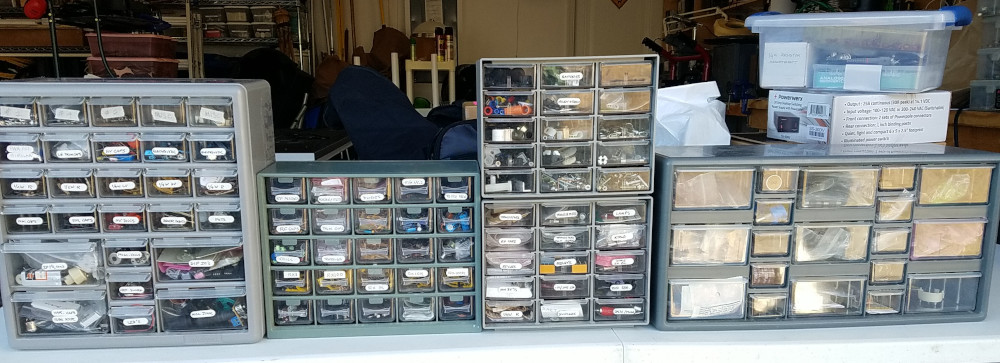
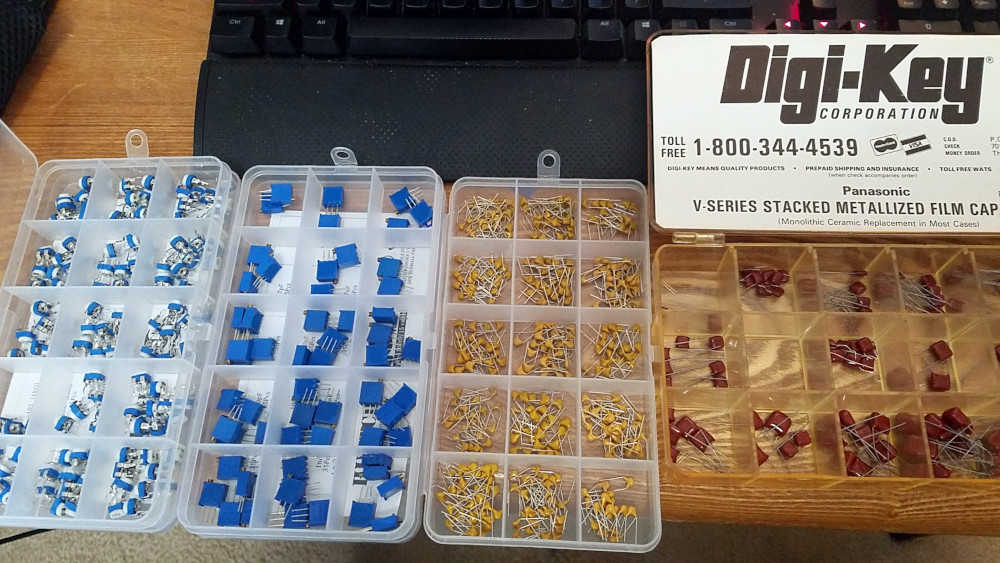
One of the items from the KB1SH collection of parts I bought at Hamcation was an unassembled frequency counter kit. A packing slip still in the box showed it was purchased from a company called S&S Engineering out of Maryland in 1993. A quick search on Google didn’t yield anything that looked like it might have been related, so the S&S Engineering that produced this kit probably isn’t around anymore.

I love assembling and soldering a good kit, and this looked like a pretty good one. Documentation included the assembly instructions as well as a circuit schematic and a brief theory of operation section. This particular kit included an option for an additional 4 digit LCD display. All the necessary parts turned out to be there, except for a TO-92 voltage regulator that could very well be buried in my carpet somewhere. I neglected to get any photos of the boxed kit, but I did remember to take photos while I was soldering parts on.

The circuit board for the counter is relatively large, 13.1×13.5 cm and the part density wasn’t high so there’s plenty of room to work on the board while soldering things on. The printed circuit board itself is etched and tinned, but without a solder mask that you’d normally see. The only problem I ran into while soldering were two parts that went into a very large ground plane/heat sink. This would have been a good point to break out the flux and switch to a larger tip on the soldering iron had I thought about it.

Partially assembled frequency counter kit from S&S Engineering, part of the KB1SH collection purchased at Hamcation 2022
Partially assembled frequency counter kit from S&S Engineering

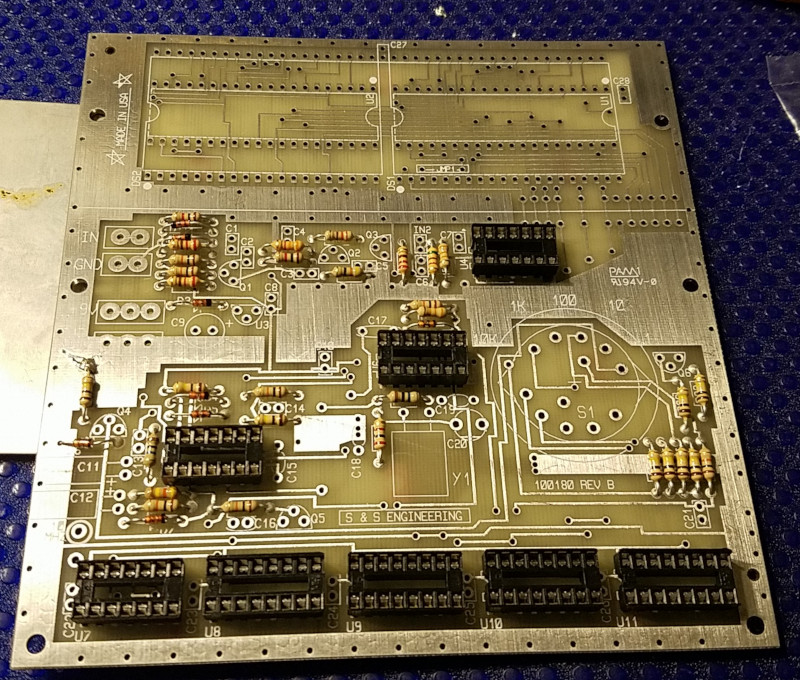
There are a total of 10 ICs in the kit, which I decided to use sockets for. 8 of the sockets and all the resistors are installed in the photo above. The other two were for the 40 pin ICs used to support the LCD displays at the top of the board.

Partially assembled frequency counter kit from S&S Engineering, part of the KB1SH collection purchased at Hamcation 2022
Partially assembled frequency counter kit from S&S Engineering

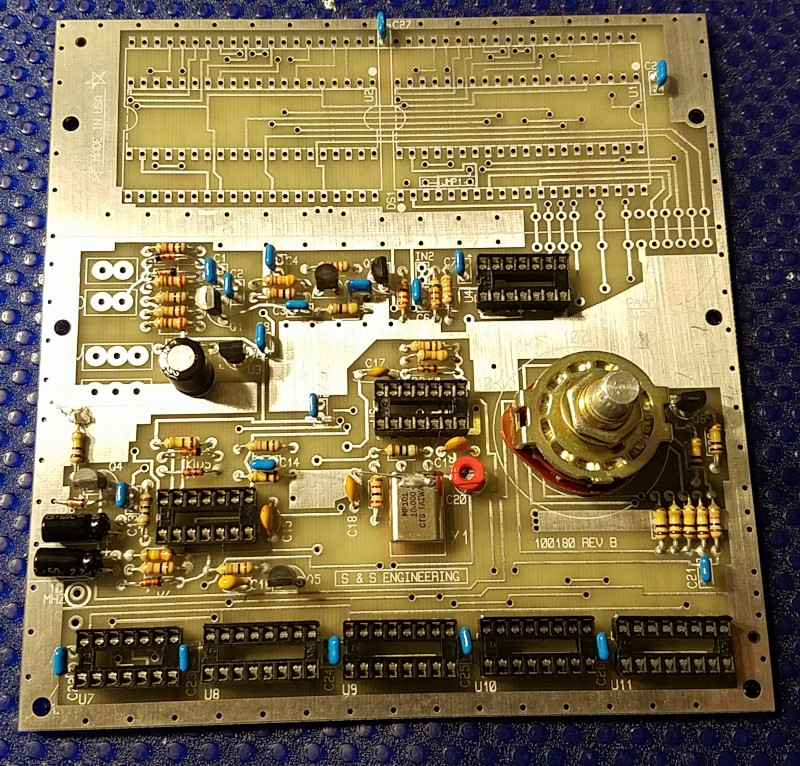
Above is the fully populated board, except for the two LCD driver ICs and the LCDs themselves.

LCD driver ICs installed on the PCB with header pins for the LCD displays

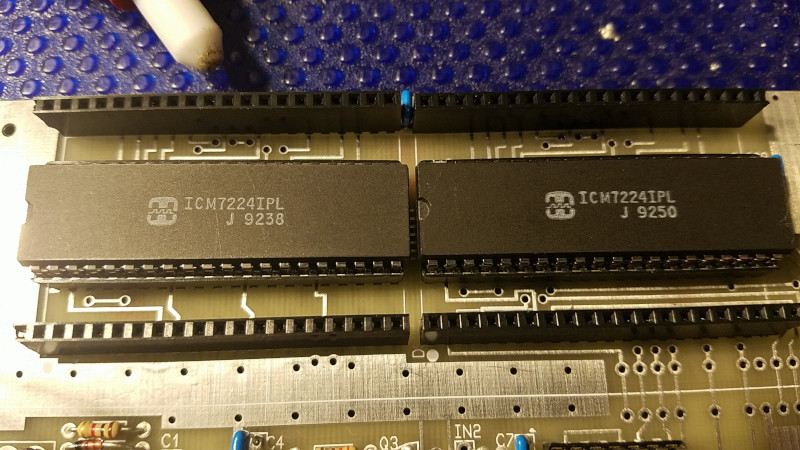
The kit came with two 40 pin sockets, which the instructions say to cut apart and use for the LCD displays. I opted to use the sockets for the ICs, and some tall header sockets for the LCDs.

Assembled frequency counter kit from S&S Engineering, part of the KB1SH collection purchased at Hamcation 2022
Assembled frequency counter kit from S&S Engineering

The fully assembled board looks pretty nice. Unfortunately, the frequency counter isn’t working yet. I’ve confirmed that the 10 MHz test point puts out something close to a 10 MHz signal, according to one of my DMMs. Not sure if I’ve put in something wrong, bad soldering, or if there’s just a problem with the LCD displays.

Random LCD segments showing up with power applied

A few seemingly random LCD segments show up and then eventually fade after a few minutes. This makes me think it might be an issue with the LCD displays themselves. They are almost 30 years old (at least) after all. I’ll see if I can stick them into a breadboard or something and test them out. Wonder if it would be possible to wire in some other kind of display.

Figuring out how to get this frequency counter working will be as much fun as putting it together I think.

Update: Getting closer to figuring out the problem. Turned out I had the LCD driver ICs installed upside down. I wasn’t paying close enough attention to the installation instructions. With the ICs installed properly (glad I had them in sockets), now I can get the digits to display properly if I wiggle the LCDs in the header sockets to get them into a certain position. I might need to replace the header sockets with something else.

Overflowing with parts

One of my biggest purchases at Hamcation 2022 was a large set of bins and boxes of electronic components from the Swaps building. They were all part of the workbench of KB1SH (SK), and his wife and daughter (very nice people) were at Hamcation with a bunch of his homebrewed radios, tools, and components. I learned from them that KB1SH was an electrical engineer, an avid electronics homebrewer, and spent some time consulting for Ten-Tec. From the radios he built that were on the table, I could tell that he was quite a skilled builder and liked to build with vacuum tubes.

Here are 5 of the 6 component bins I acquired. They’re filled with resistors, capacitors, inductors, transistors, toroids and coils, crystals, connectors, and other bits of hardware for building.

5 of 6 component bins from Hamcation 2022

In addition to the component bins were several boxes of more bagged resistors, caps, inductors, coils, kits of assorted potentiometers and capacitors, tubes of integrated circuits, and spools of wire.

Kits of assorted potentiometers and capacitors
Kits of assorted potentiometers and capacitors. Check out that old school Digi-Key logo!

It’s a pretty vast collection of parts and much of it is new or (now) new-old-stock/NOS. There’s pretty much everything you might need to build something radio-related in the collection.

I still consider myself a bit of a dabbler when it comes to building electronics, but I think KB1SH’s wife and daughter were pleased to know that his collection was going to someone interested in building like he was.

The Handbook Collection

With my recent ARRL Handbook acquisitions, I consider my collection pretty much complete now. I’ll add newer ones as time goes on and if someone is getting rid of older ones, I probably won’t turn them down. I feel like my collection covers the history of amateur radio from the ARRL Handbook perspective pretty well now.

My ARRL Handbook Collection starting with a 1926 1st edition Handbook on the left progressing to the 2014 ARRL Centennial edition Handbook

From the left there’s the 1st edition 1926 ARRL Handbook, followed by 1927, 1931, 1944, 1950, 1956, 1963, 1970, 1971, 1974, 1979, 1980, 1993, 2005, 2012 (my very first handbook from when I first got my license), and finally the 2014 ARRL Centennial edition Handbook. The next one I end up purchasing will be the 100th edition 2023 Handbook.

I’m pretty happy with my collection. It’s a wealth of excellent reference material and project ideas.

A 1970 Handbook

While browsing the tables in the Swaps building at Hamcation, the distinctive blue colour of the 1970 ARRL Handbook caught my eye so I had to buy it. I’ve always thought it would be nice to have one from the year I was born so that I could see what amateur radio was like back then.

1970 ARRL Radio Amateur's Handbook
1970 ARRL Radio Amateur’s Handbook

I don’t think there’s much difference between the 1970 and 1971 Handbook that I already have, but it’s still a nice one to have.

Orlando Hamcation 2022

Made it back to Hamcation for the first time since my very first trip there in 2013. Like the first time, Hamcation didn’t disappoint. The crowd size seemed pretty respectable for Hamcation, although I don’t really have a good memory of what the crowd was like the first time I went so it’s a bit tough to compare. There were a lot of people moving through the commercial and swaps buildings, but I didn’t feel like I was stepping on anyone making my way through from table to table.

We started the festivities off Thursday (Feb 10) with the 2022 ARRL National Convention, held at a different location from Hamcation. It was a day long affair with four different tracks. Connie and I were in the Handbook track, with talks designed to introduce or remind people about different aspects of amateur radio. There were some good presentations on hunting down radio-frequency interference, Parks On The Air, amateur radio satellites, and remote rig operating.

Friday was the first day of Hamcation. Most of the big name vendors you expect to see at a major hamfest were set up in the Commercial building. Wandered through the Commercial building for a while checking out various offerings. LiFePO4 batteries from a company I hadn’t heard about yet, PO4Power, looked pretty interesting with an integrated LCD screen showing the battery voltage (and maybe other things).

LiFePO4 batteries from PO4Power

After going through the Commercial building, we walked over to the Swaps building. Pretty crowded in there with both sellers and shoppers. We made the circuit of the outside tables, I got distracted by a display of handbooks at one of the inside tables and picked up a 1970 ARRL handbook in pretty good shape to add to my collection. Then it was time for a lunch break.

Lunch options at this year’s Hamcation looked pretty decent. There were four different food vendors offering a decent variety of choices. A wood-fired pizza place was set up, so we decided to go for that. Pretty tasty pizza.

Pizza for lunch at Hamcation 2022

After lunch, it was back in to the Swaps building. Lots of people selling in there. Came across a set of tables where two nice ladies had a bunch of components, bins, equipment, and homebrew radios displayed. Turns out they were the wife and daughter of an SK who was a skilled homebrewer and did a lot of work in the radio/EE world. I was looking over the various component bins working out what would be good to add to my collection of bits and pieces and was starting to accumulate a bit of a pile when Connie asked if I’d be interested in taking the whole set of bins (6 in total). The two ladies were a bit surprised that Connie made such a suggestion, but they were very supportive of the idea. I thought about it a bit (mostly thinking about how I was going to find room for everything). Connie said do it, so I said Ok! Took a few trips to get everything out to the car. It will take me a while to go through everything I picked up and figure out what I’ve got (that deserves it’s own blog post), but along with what I already have, now I think I’ve got enough bits and pieces for a lifetime or two of building.

After that, we decided to call it a day and head back to our hotel for some much needed rest.

The second day of Hamcation (Saturday), Connie was volunteering at the VE testing session, so I was left to wander Hamcation on my own. Didn’t really notice if the Saturday crowd was bigger because I spent most of my time out in the boneyard. Looked like a lot more cars in the parking area on Day 2 though.

Wandered through the rest of the Swaps building after picking up a few more bits and pieces from the two ladies we bought the bins from. Scored a Digilent Analog Discovery 2 USB oscilloscope at one table for an exceptionally good price.

After that, it was time to wander the boneyard, which felt a lot more expansive than I remember from 2013, although I’m not sure I made it through all of it back then. I spent a good 4 hours wandering through all the boneyard tables (and getting a bit sunburned in the process) and probably could have spent another hour or so revisiting a few of the tables.

Spotted an old Heathkit TC-2 tube tester that looked interesting. The guy selling it told me “That’ll look great in your closet!” He had it marked for $20, I asked if he’d take $10 for it, and he accepted it. I think it will be a fun project to work on.

After Connie was finished with the VE testing session, we met back up for one more quick cruise through the swaps building, and then called it a day.

All in all, it was great getting back to Hamcation. Crowds seemed pretty decent and there was lots of stuff to see. Looking forward to going back next year.