CC1 Power Conditioner

It took me about a little over an hour and some fumbling around with Very Small Pieces, but the power conditioning part of the CC1 transciever is done.
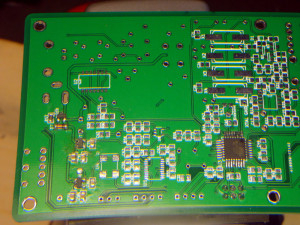
CC1 Power conditioner

There it is in the lower left corner. 2 very small transistors and some small capacitors and resistors.

Applying 12V power gives me a good voltage at the 5 V test point, but nothing at the 3.3 V test point. I think I may have either cooked the transistor or there’s a solder bridge I can’t see. I’ll have to take it off and check underneath.

Things I’ve learned so far:

  • Keep the board flat. I had one of the transistors bounce off the board and go sliding off onto the floor when I took it out of the packaging. Took me 10  minutes of hunting on my hands and knees to find it.
  • I initially started with a pointed tip on the soldering iron, but found that the chisel tip seems to work better. The flat surface of the chisel tip allows you to put more heat on the component and pad than the pointed tip.
  • A magnifying light is pretty much essential for this.
  • Use 0.55 mm or thinner solder
  • Tack one end of the component to the board with a small amount of solder. Then you can solder down the other side or other leads pretty quickly and easily.
  • Go ahead and solder the barrel connector (J8) to the board. This will make supplying power for testing easier.

I’m only doing one component at a time, so it’s probably going to take me a while to finish.
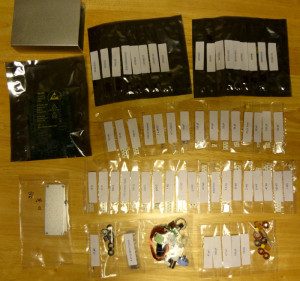
CC1 kit inventory

The CC1 kit arrived yesterday, a day earlier than I expected. First impression after I took everything out of the mailing box and laid the bags out was that there are a lot of components, and holy crap are they small.

CC1 Parts
CC1 Parts

The components are pretty much all SMT components, and a lot smaller than the ones that were used in the Softrock receiver. There are also lots of transformers and inductors to wind.

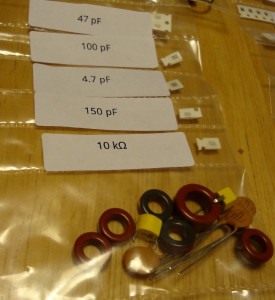
CC1 caps and toroids

I’m going to have to clean up and organize the workbench before I get started on this. I’m thinking I should do the assembly on a towel or something with sides for containment, because if I accidentally drop one of the SMT bits, it’s going to be next to impossible to find.

New kit: CC1

A new radio kit is on the way and should be here by the weekend. Ordered a beta version of the CC1 QRP transceiver kit from Jason/NT7S. Looking forward to getting it and blogging the build here. It’s small with a lot of SMT components, so I’ll definitely be stretching my soldering skills with it. Learned a lot by doing the Softrock Lite receiver, so I think I should be able to manage pretty well with this one.

Softrock Lite II enclosure

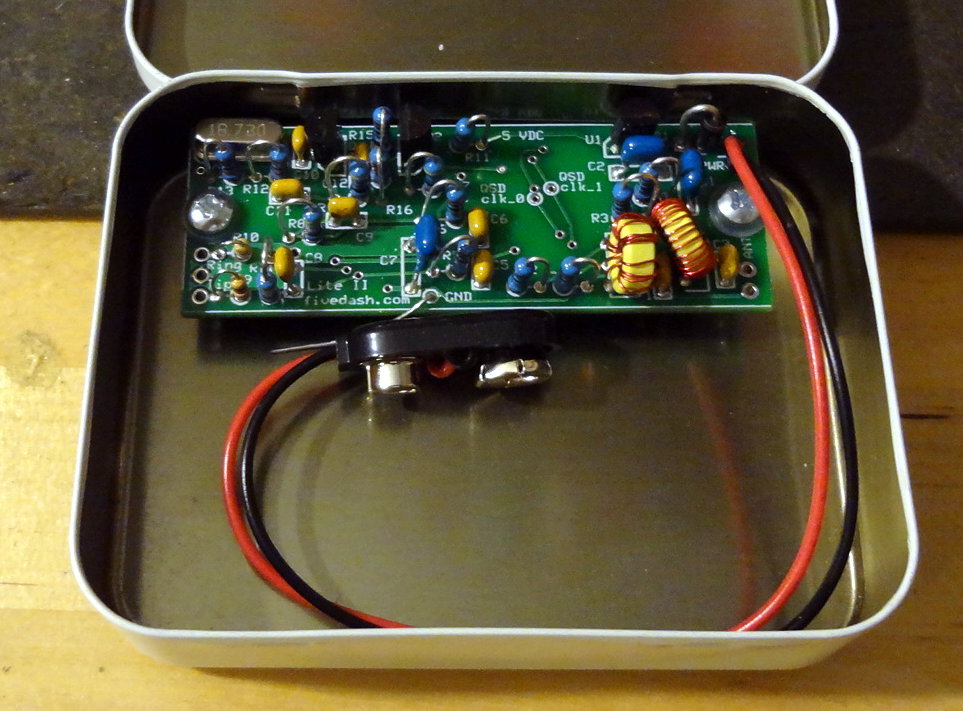
No empty Altoids tins around, but I did have an empty tin that used to hold some tea bags. It was the perfect size to hold the Softrock Lite II and a 9V battery.

Softrock Lite II enclosure

Punched a couple of holes into the tin so I could secure the board and instant enclosure!

Softrock Lite II enclosure

On the right side I think I’ll see if I can make a hole to attach a BNC connector for the antenna. On the left side I’ll make a small hole to run the cable out to the sound card.

Softrock Lite II completed

Finally got around to putting the last components on the Softrock Lite II receiver. It passes all the voltage tests, which seems like a good sign. I replaced the breadboard jumper terminals with a 9V battery connector to make it more portable. Now all I need to do is make an antenna connector and a wire to a sound card and I should be up and running with it. I’ve got a short length of coax with an SMA connector on it that I can use for the antenna connection, and I’m pretty sure I can find something in my junk box to cannibalize for the sound card connection.

Completed Softrock Lite II