Hammarlund HQ-100: Replacing more tubes

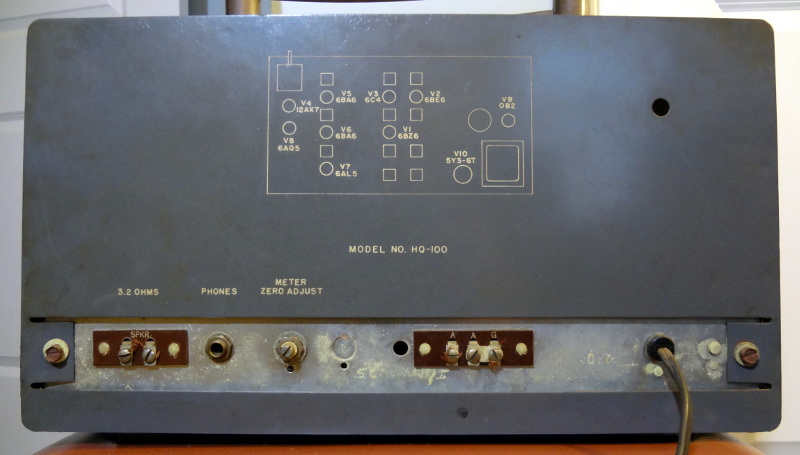
The HQ-100 manual conveniently provides a table of the voltages you should be seeing at the tube pins. After replacing three of the tubes in the HQ-100, I went through and checked all the tube pin voltages and ended up replacing two more tubes (the 6BE6 and 6AL5 tubes). I didn’t have a spare 6AL5 tube on hand, but I discovered the VoltOhmyst VOM I acquired a while back also happened to use a 6AL5 tube. After pulling it out of the VoltOhmyst and putting it into the HQ-100, all the voltages at the tube pins matched the voltages in the table.

Unfortunately, I’m still not hearing any static or audio from the radio, so there’s more work to be done. The realignment procedure described in the manual calls for a 455 kHz signal source, so the next task will be to get one set up.

Update 02-Apr-2023: Since I had them on hand, I replaced the 6C4, 6BZ6, OB2, and 5Y3GT tubes. Now the only tube that hasn’t been replaced is the 6AQ5.
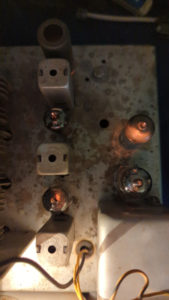
Hammarlund HQ-100 tubes aglow

The HQ-100 has some new Class X2/Y1 capacitors across the AC input, a polarized two-prong power cord, a new multi-section can capacitor from Hayseed Hamfest, and now three “new” tubes.

After spending a few days checking over things, I put the front panel and knobs back on, plugged the radio in and was greeted with some warm glowing lights.

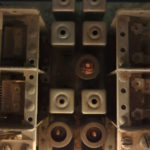
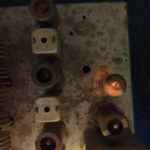
The two lamps behind the frequency dial indicator both came on, and a nice warm red glow was coming from most of the tubes. Three of them (a 12AX7 and two 6BA6s) were dark though. Fortunately I had acquired all the tubes I needed for the HQ-100 at past hamfests. After replacing the three tube and applying power again, all the tubes were lighting up!

Replacement tubes lighting up

Next step will be to attach a speaker and antenna and see how well, if at all, the radio receives.

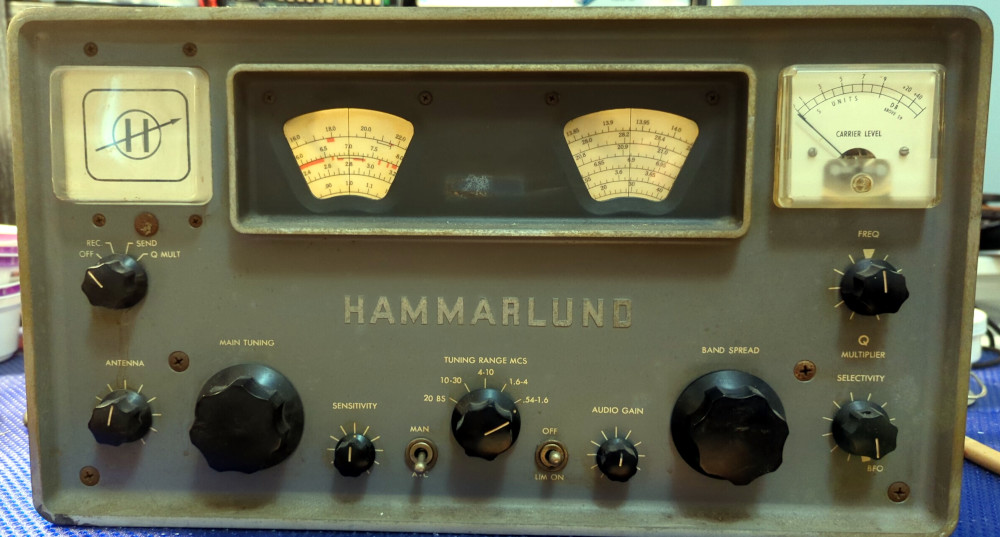
Hammarlund HQ-100

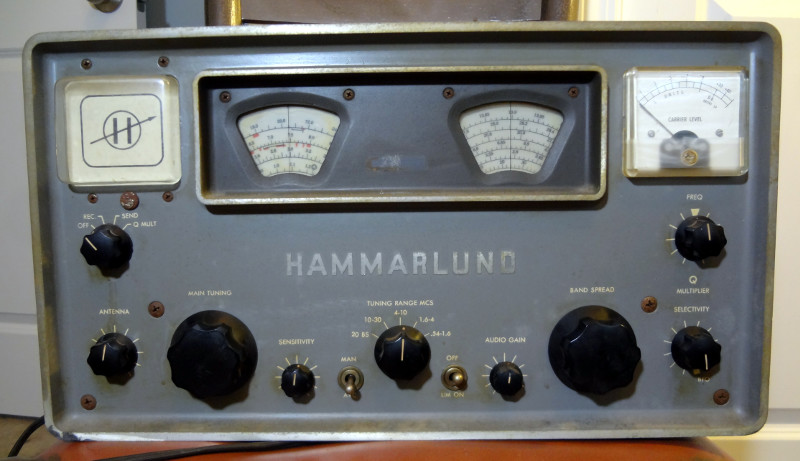
At long last, the Hammarlund HQ-100 I picked up a few years ago is finally getting some time and attention on the workbench.

Hammarlund HQ-100 receiver

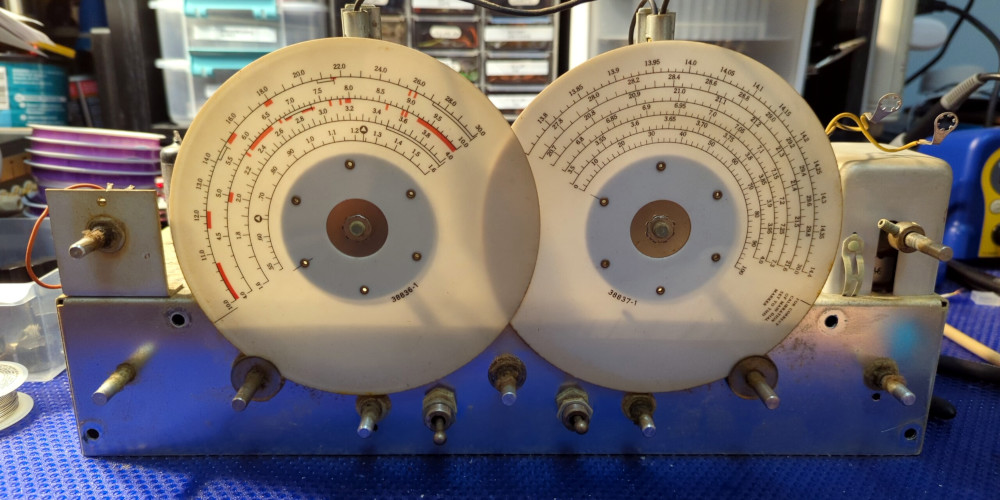
After a bit of cleaning outside, it was time to dig in and see what was going on. Removing the knobs and four slightly rusty screws let me remove the front panel to see if the band spread tuning dial could be fixed.

Exposed tuning frequency indicator dials after removing the Hammarlund HQ-100 face plate

Turns out the frequency indicator dials (the large white disks) are connected to the tuning dial knob by friction fit. Turning the knob makes the indicator dials turn, and the shaft those dials are attached to are connected to the variable capacitors that do the tuning. The band spread dial was free-spinning because there wasn’t enough friction between the indicator dial and the tuning knob. While I was trying to figure out how to fix it, I discovered the nut at the back end of the tuning shaft was loose, and tightening that up made the tuning knob work again.

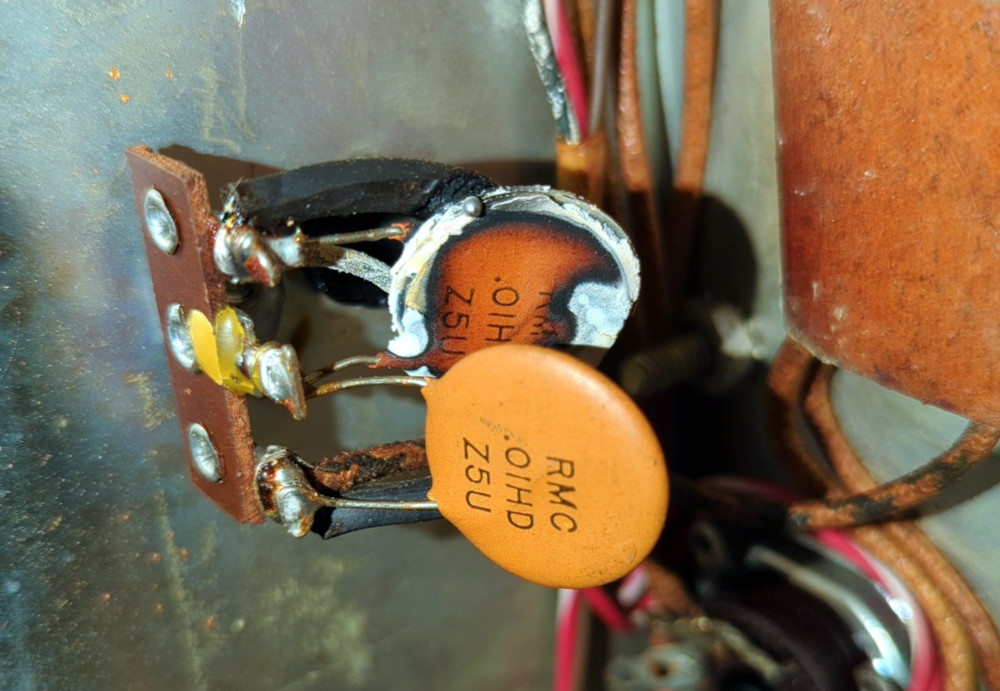
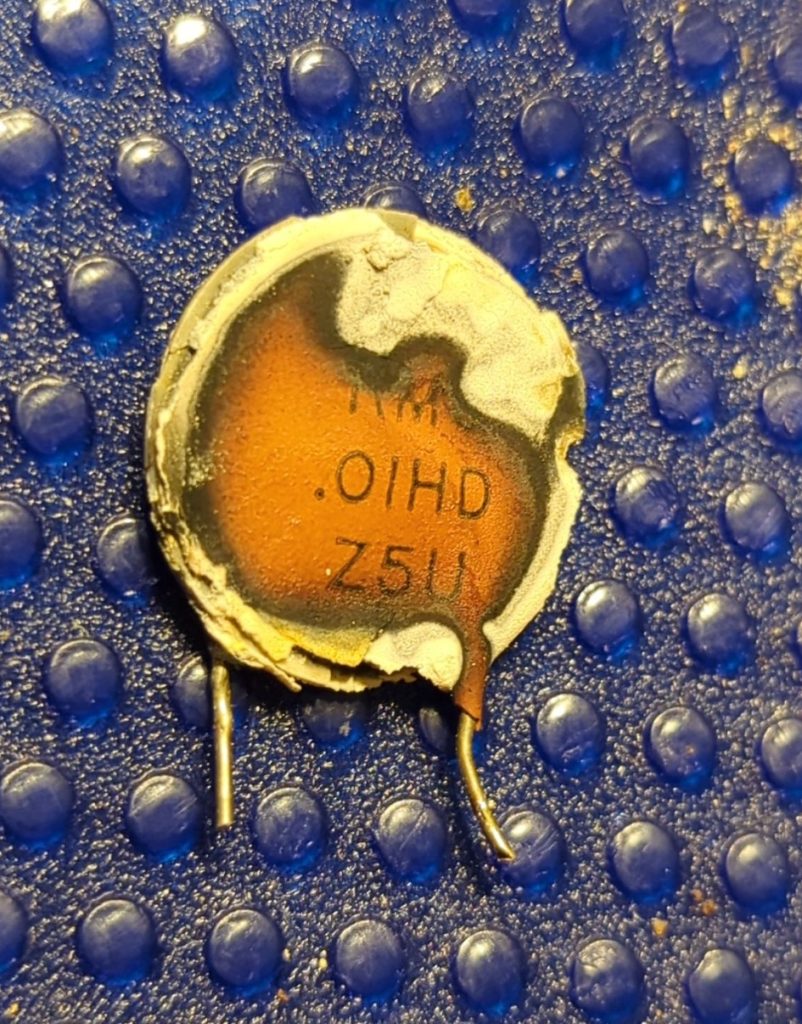
The other big issue I came across while looking around was a burnt capacitor across the AC input.

Not a good thing to see. I clipped the toasted capacitor out as well as the old two-prong non-polarized plug. I’ll see about wiring in a new three-prong plug and maybe a fuse as well.

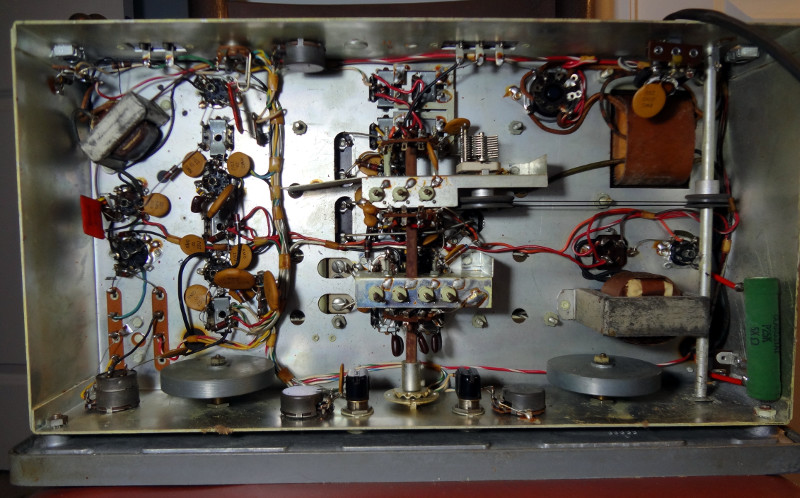
Haven’t seen any other obvious component issues yet. There’s a multi-section electrolytic can capacitor that probably should be replaced, but there aren’t any signs of leakage.

My first boat anchor!

I’ve acquired my first boat anchor radio!

One of my friends from the photography meetup I’m in messaged me and asked if I’d be interested in an old radio he was helping a friend of his sell.

I’m now the owner of a Hammarlund HQ-100 receiver that powers on, but will need a fair bit of restoration work.

Hammarlund HQ-100
Hammarlund HQ-100
Hammarlund HQ-100
Hammarlund HQ-100

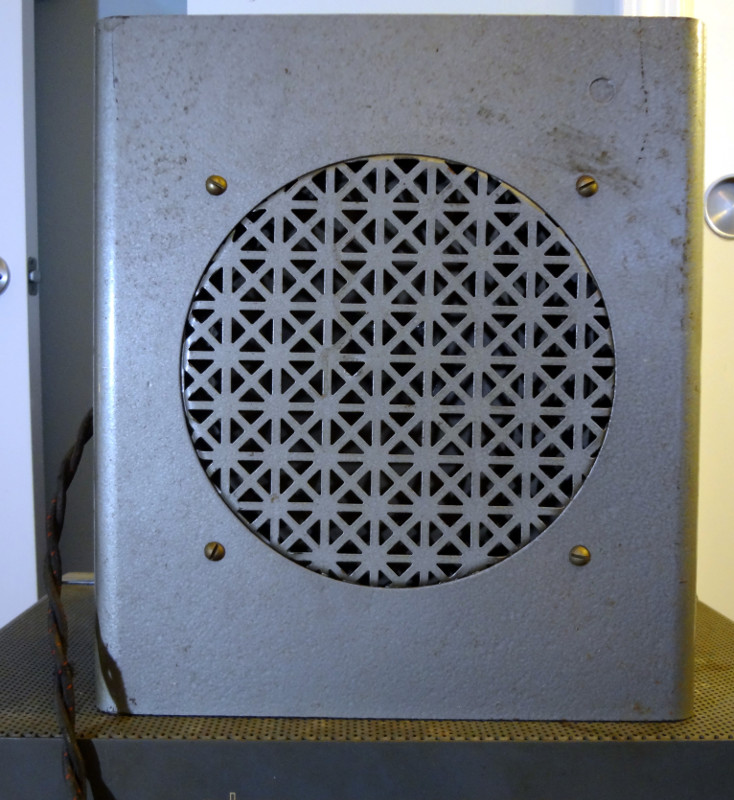
I even got a speaker to go with it.

Hammarlund HQ-100 speaker

It’s a bit of a heavy beast, but not quite as heavy as it looks. Undoing two screws let me slide the cover off to look inside.

Inside the Hammarlund HQ-100, top view
Inside the Hammarlund HQ-100, bottom view

There’s a fair bit of dust and corrosion on the components, but except for the band spread dial, all the controls seem to work. Not sure how the radio spent the last few decades of its life. I’m pretty sure I’ll have to replace a few components, especially the mechanical bits. Smells like the previous owner might have been a smoker, but it’s hard to really tell.

This is going to be a fun restoration project to work on. It’s going to take me a while, but I’m going to enjoy working on it.