After getting a bit of advice from some locals about soldering, I thought I’d get in a little more practice with the SA602s and the breakout boards. It was also a good excuse to see how my new glasses are for working at the bench.
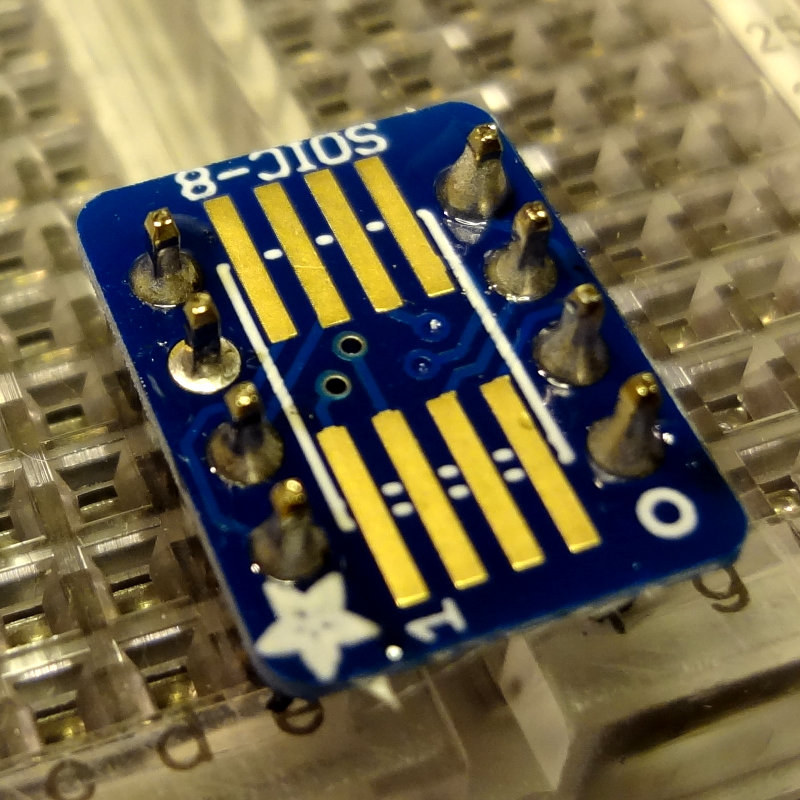
To get a little more room to work, I switched to a conical tip on the soldering iron and soldered the board onto the header pins first. This makes for a pretty stable platform to work on.
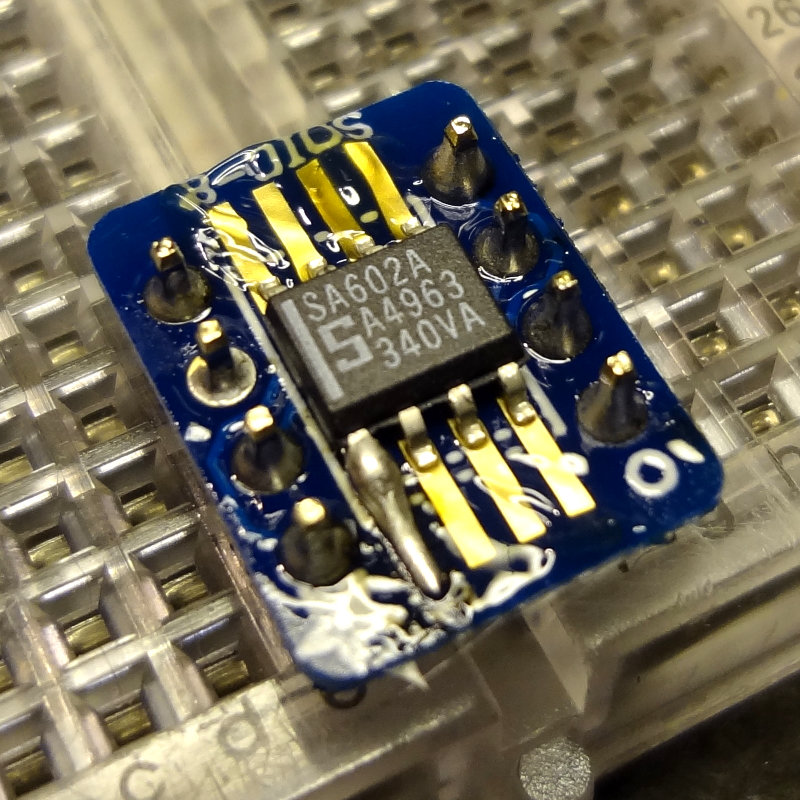
Add a little bit of flux paste, tin one of the pads and then tack on the SA602 to the tinned pad.
Then flip it around and solder a pin on the other side.
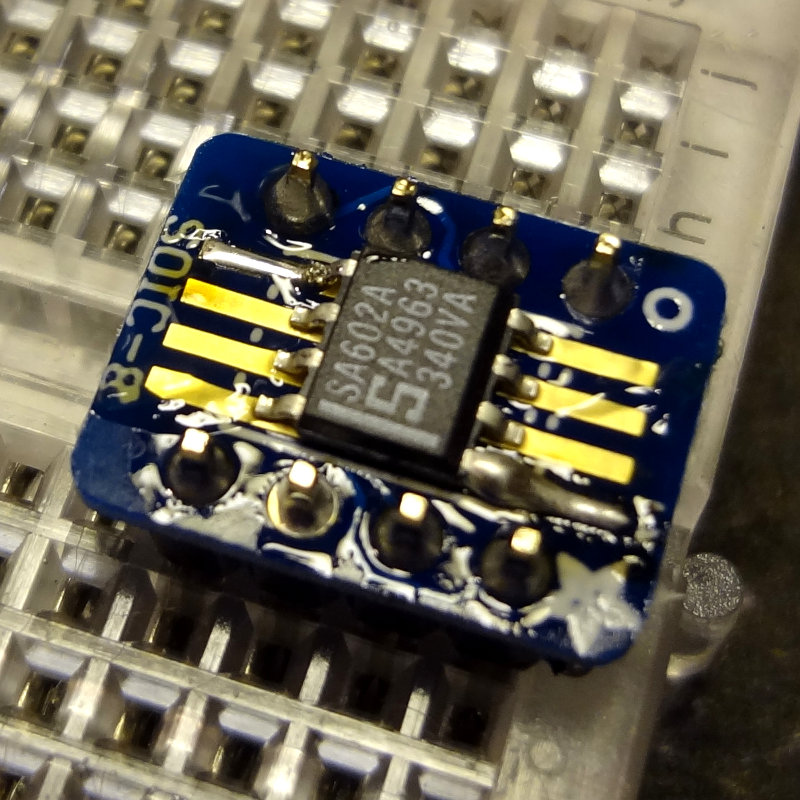
Then solder the rest of the pins, making sure not to leave the soldering iron on the board too long, and waiting a few seconds between soldering each leg to let things cool down a bit. A method that I found worked pretty well was to place the soldering iron tip on the pad, apply a touch of solder to the tip, push it towards the pin, and then draw the tip back along the pad.
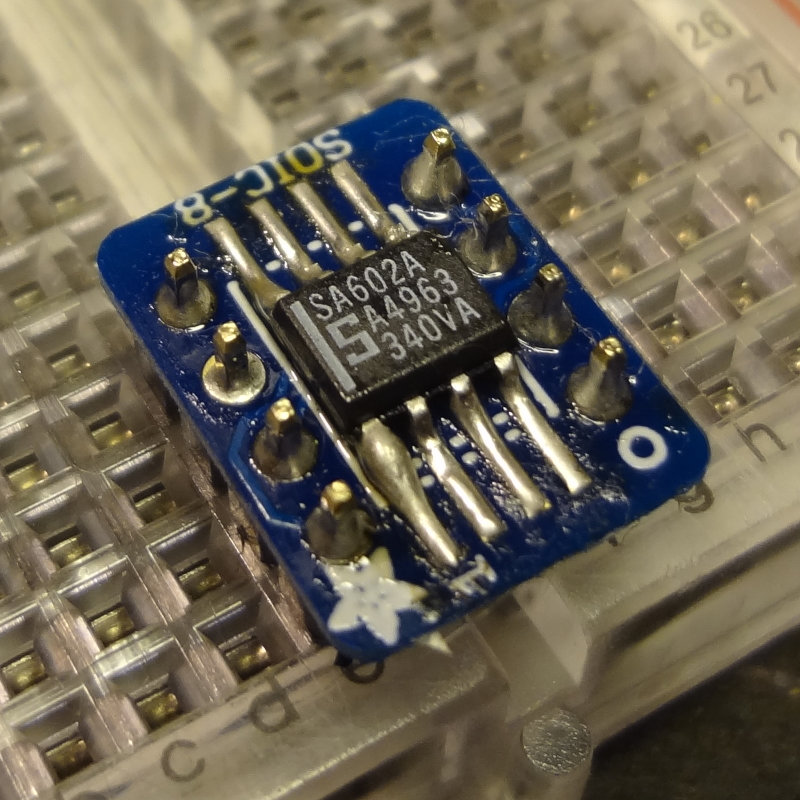
I soldered a total of 4 SA602s onto the breakout boards. Here’s the result of about an hour’s worth of practicing.
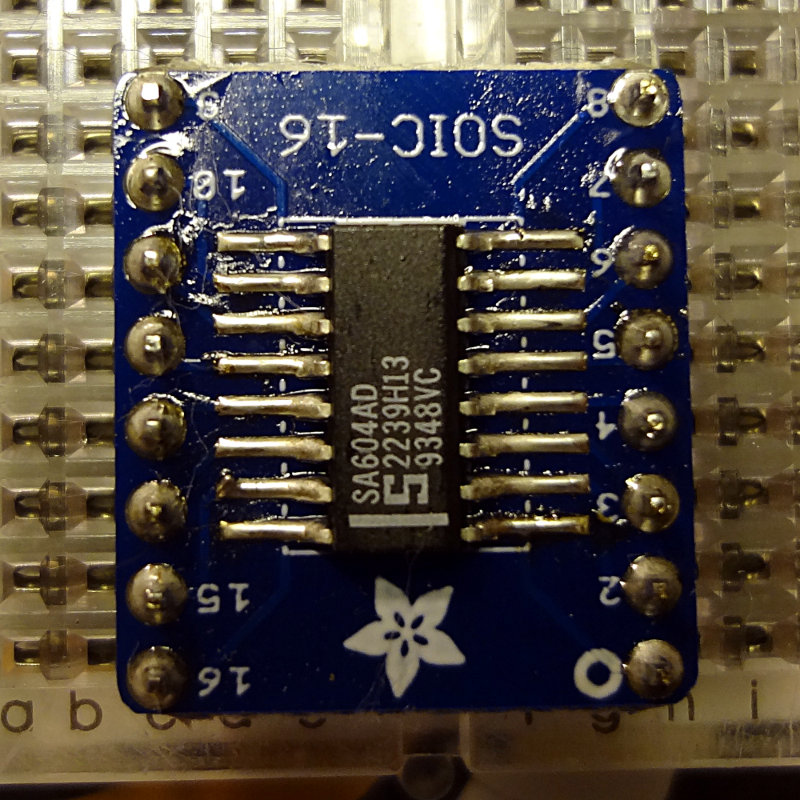
Using the same method, I soldered one of the SA604 chips onto the SOIC-16 breakout board. Although the SA604 is about the same width as the SA602, just longer, the SOIC-16 board is quite a bit larger than the SOIC-8 board. Having the header pins on the same side as the pads gives you a little less room to work with as well. Still, soldering the SA604 was pretty easy.
My attempts at cleaning off some of the residual flux left some cotton fibers behind from the swab I was using. I don’t think it will affect how these work, but I’ll spend some time trying to clean them off.
I think I’m getting the hang of this now. Next, learn how to use these.
Discover more from AB4UG Radioblog
Subscribe to get the latest posts sent to your email.

