Ensemble RXTX build – RF I/O and Switching Part 2

Finishing off the RF I/O stage means winding 3 toroids and two transformers on relatively smallish cores (T37, T25 and a BN-2402).

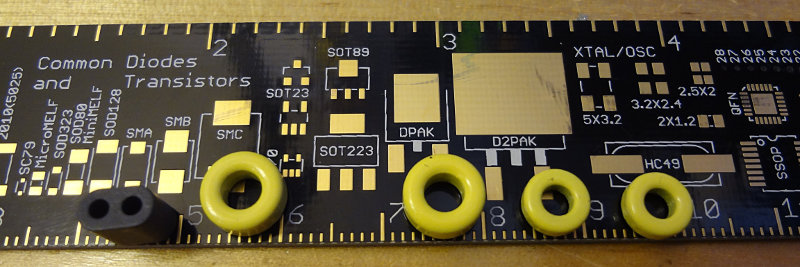
Toroids and transformer cores

(Those are T30 cores in the picture…accidentally grabbed those instead of the T37 cores)

Took me about an hour to wind all the cores and get them soldered onto the board. For the transformers, I think I spent more time checking and rechecking the leads to make sure I had the primaries and secondaries sorted out properly.

Four bifilar turns is a lot to stuff into a BN-2402 core. It was a pretty tight fit with the AWG30 wire but I was able to cram it in.

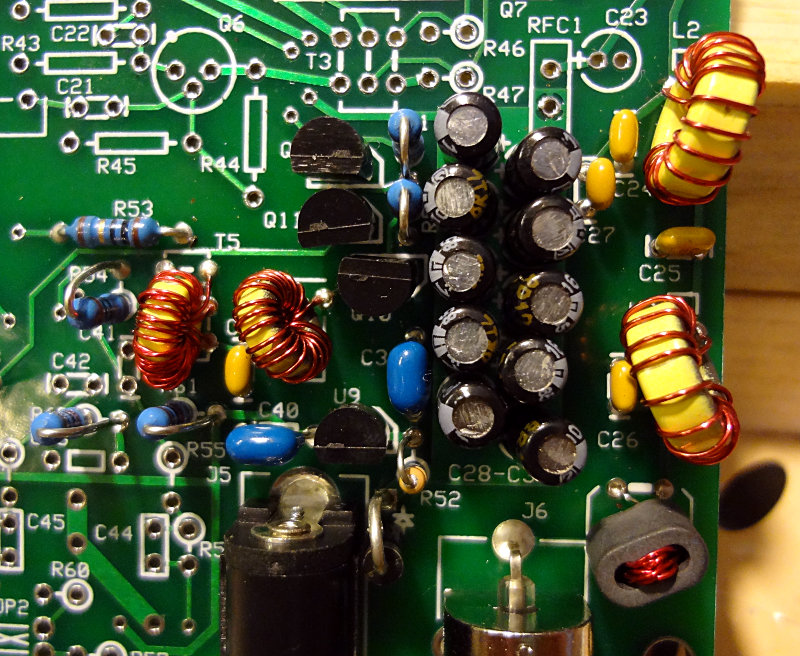
With the toroids and transformers soldered onto the board (yay for heat stripable magnet wire!), this is what the top of that section looks like now.

Toroids and transformers attached to the board

Mixer stage is next.

Ensemble RXTX build – RF I/O and Switching Part 1

Started on the non-toroid/transformer parts of the RF I/O and switching section of the build. Nothing too difficult with this section. Four SMD capacitors on the back of the board. On top are through-hole resistors, caps, and transistors.

The holes for the transistors is pretty close together, so to make inserting them (TO-92 package) easier, use some needle nose pliers to straighten out the outer legs. The transistors slip right into the holes without having to force them in because of the bend in the leads.

The BNC connector is also attached to the board at this stage. The one supplied with my kit has an all metal body. Soldering the two ground pins to the board takes a lot of heat. I ended up having to hold my soldering iron on the pins for close to a minute before they got hot enough to get a good solder joint. I suggest doing the BNC connector last. Once you’ve got it soldered on, it stays pretty hot for a while.

Top and bottom of this section so far.

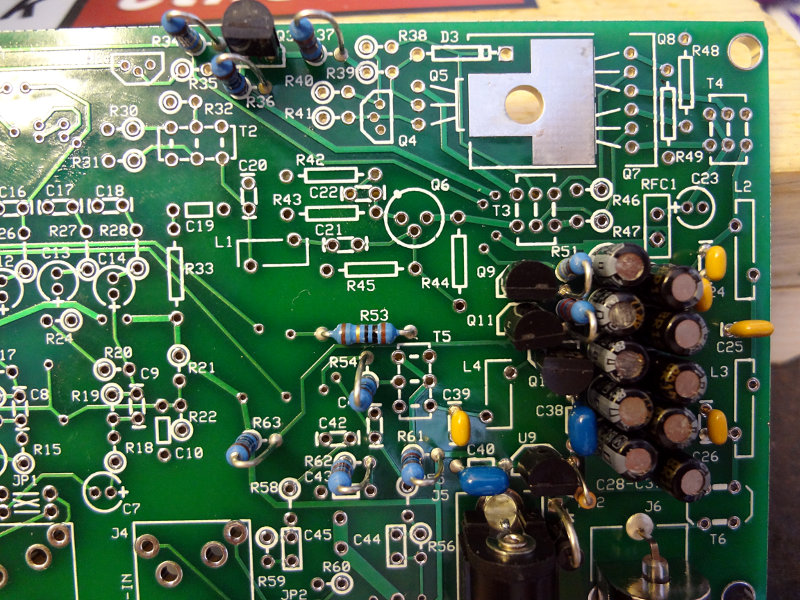
Ensemble RXTX RF I/O and switching top
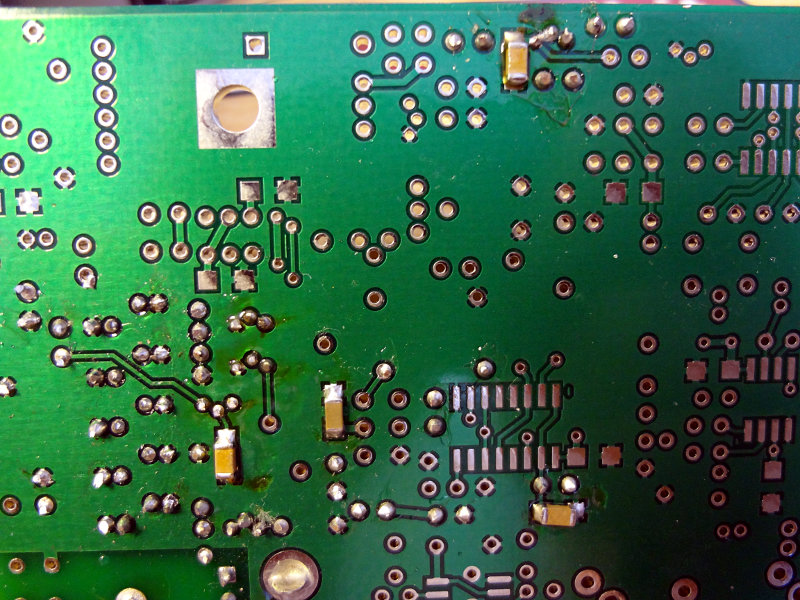
Ensemble RXTX RF I/O and switching bottom

Off to go wind some toroids and transformers.

Ensemble RXTX build – Dividers

On to the dividers stage of the build. Only 4 components here: a 74AC74 dual flip flop, a SMD cap and two resistors. The pin spacing on the 74AC74 is relatively wide, so it’s pretty easy to solder. The blob and wick method will work, but it’s also pretty easy to do each pin individually. Just have to make sure you get the orientation correct.

Top and bottom of the divider section of the build.

Ensemble RXTX divider section top
Ensemble RXTX divider section bottom

Here’s the top and bottom of the whole board so far.

Ensemble RXTX top
Ensemble RXTX top
Ensemble RXTX bottom

Next up is the RF I/O and Switching stage. Lots of stuff in that stage including a bunch of toroids and transformers, so that will probably take me a couple of days to do.

Ensemble RXTX build – Local Oscillator

Although the 3.3V voltage regulator seems to be dead, I decided to press on with the build. So far, this RXTX kit is proving to be one of the more challenging ones I’ve done so far. Lots of parts, small-ish components and closely spaced holes for the through-hole parts.

On to the local oscillator section today. The most challenging part in this section is the Si570 oscillator chip. The pads for pins 1-6 are pretty large and easy to solder. Pins 7 and 8 on the sides of the oscillator have pretty tiny pads though. This means it’s pretty important to position the Si570 properly. There’s plenty of room to position the Si570 up and down, but too much to one side and you end up covering up the pad for either pin 7 or 8. Cover them up too much and you may not be able to make the connection between the oscillator and the pad. I think with mine, I may have a dodgy connection at pin 7. I’ll probably find out in a little while once I get around to replacing that voltage regulator.

Also I forgot about leaving off C55, so I’ll have to take that off when I get back to working on the board.

The rest of the local oscillator section was a few more surface mount capacitors and through hole components. The first of many transformers and toroids is in this section too. Pretty easy, although a little bit of a challenge with the close hole spacing. You definitely want to use a small pointy soldering iron tip for this kit.

The top and bottom of the board so far.

Ensemble RXTX LO section top
Ensemble RXTX LO section bottom

Ensemble RXTX build – USB Power

After cobbling together a power cord to use with the Astron power supply, I was able to verify the power section on the RXTX board. Was getting just under 13V in and measuring 5V where there was supposed to be 5V.

Then I started on the USB power section. This is a section that’s isolated from the rest of the board and has the first of the SMT components to solder on in the project: a 3.3V voltage regulator (LP2992) and some capacitors.

Got everything soldered on easily enough, but when it came time to test, I wasn’t getting anything on the output of the voltage regulator. There was the 5V USB voltage going into the voltage regulator, but nothing coming out.

Rats.

Not sure if the voltage regulator got cooked in the soldering process, zapped by static, or if something happened to it while it was sitting on the shelf.

Guess I’ll have to order another one. Fortunately they’re not terribly expensive ($1.09 each for 10 from Mouser.com).

Here’s the top and bottom of the board so far.

Ensemble RXTX USB power section
Rear of the USB power section

Next section is the local oscillator. I may not be able to test it with a bum voltage regulator, but I think I’ll press on anyway.