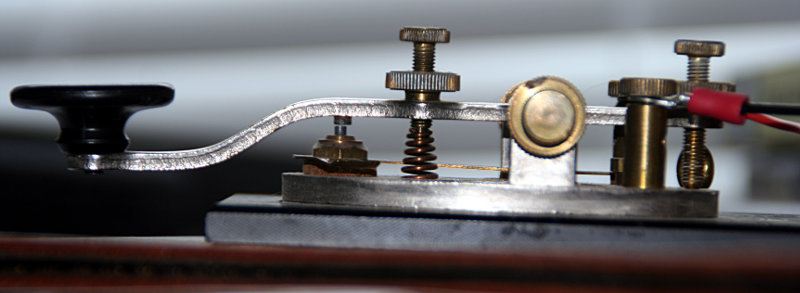
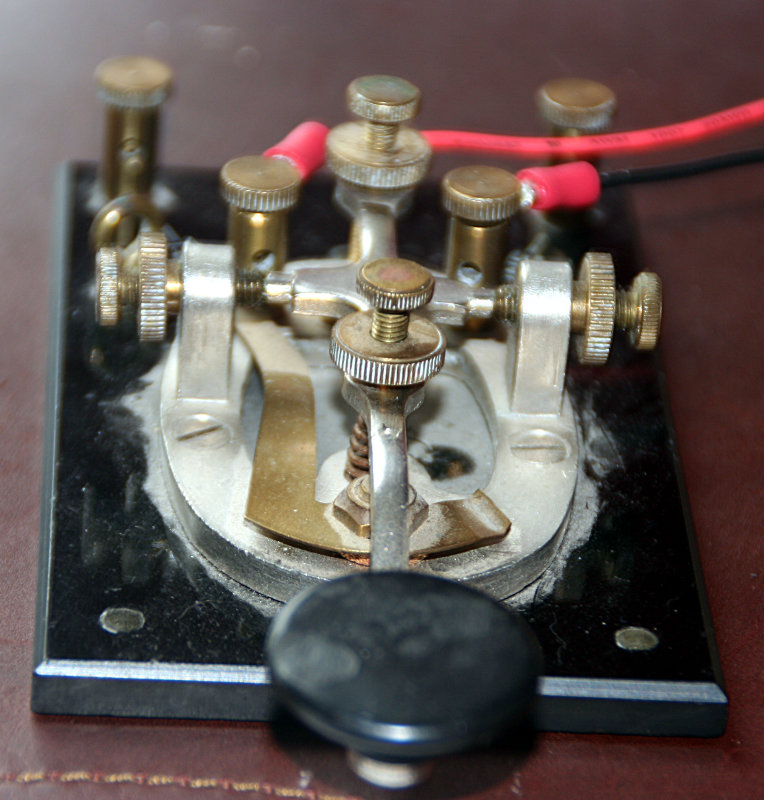
CW key collection: J-38

I’ve managed to accumulate a small (5) collection of CW keys over the years, starting with the J-38 straight key, and most recently the Begali Camelback.

After I got my amateur radio license, I knew I wanted to learn Morse code (still working on it), and I knew I wanted a straight key. I love the simplicity and the imagery of and connection to telegraphers of old hammering out CW.

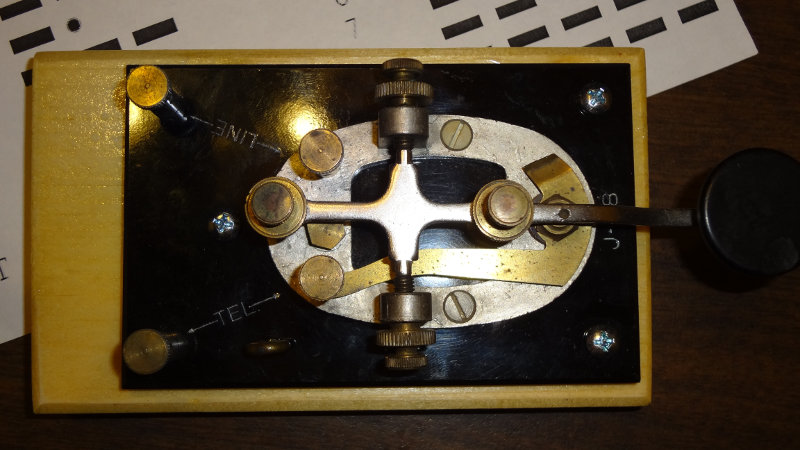
When it comes to “vintage” straight keys, the J-38 and its many variants aren’t too hard to find. My J-38 was one of my first hamfest acquisitions, and is a nice simple key to use.

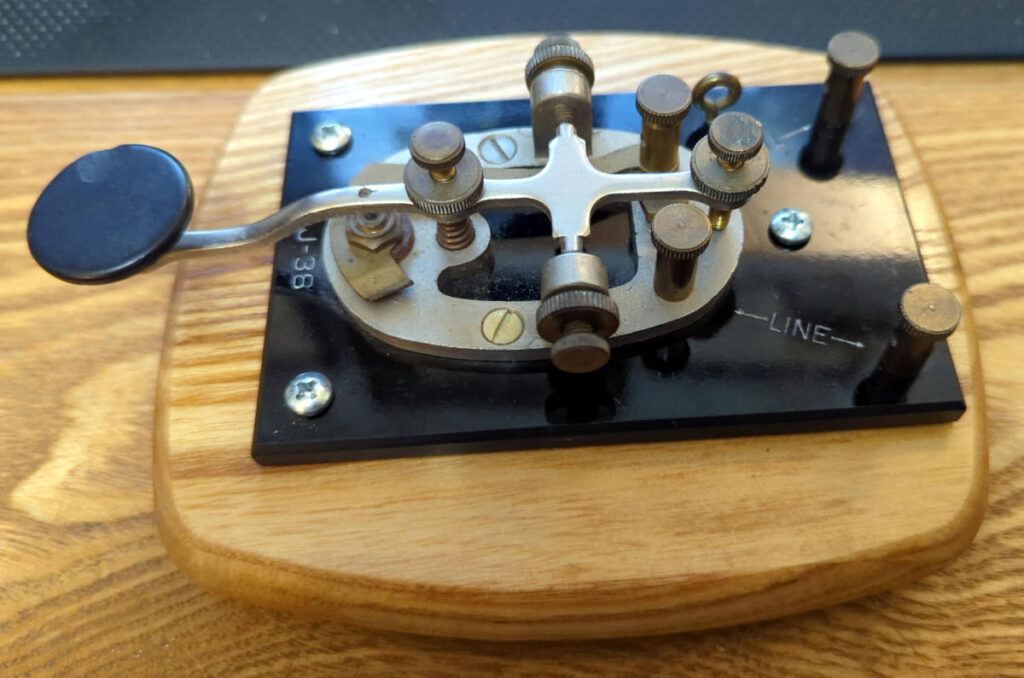
J-38 straight key mounted on a wooden base

It’s missing the shorting bar across the top two terminals and the shorting lever but otherwise works perfectly. When I’m practicing my Morse code, this is usually the one I work on the most. I really like the way it feels.
A new straight key base

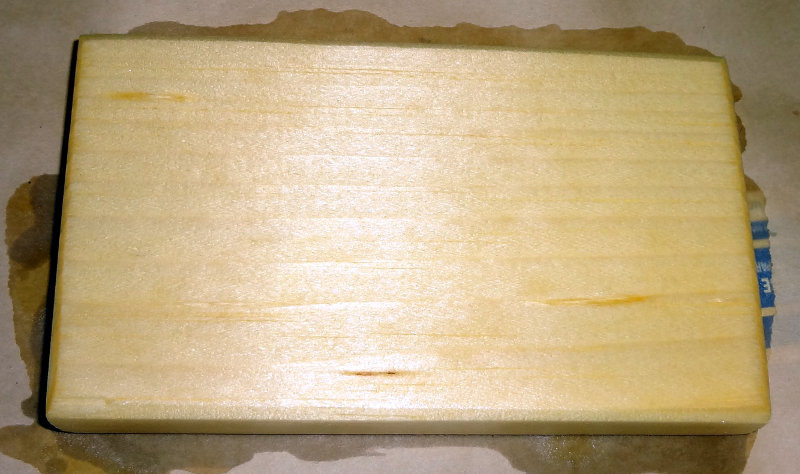
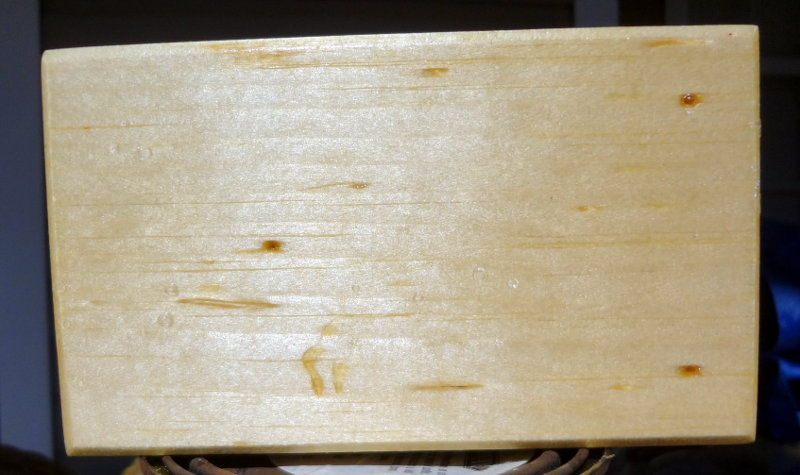
Found this tiny little cutting board while we were at our local Habitat for Humanity ReStore, and thought it would make a nice little block of material to test the CNC machine with.

Little 15 cm x 13 cm cutting board

After seeing it on my desk, I decided it would be much more useful as a new base for my J-38 key. It’s about twice as heavy as the old base I made out of a piece of 1×4 wood.

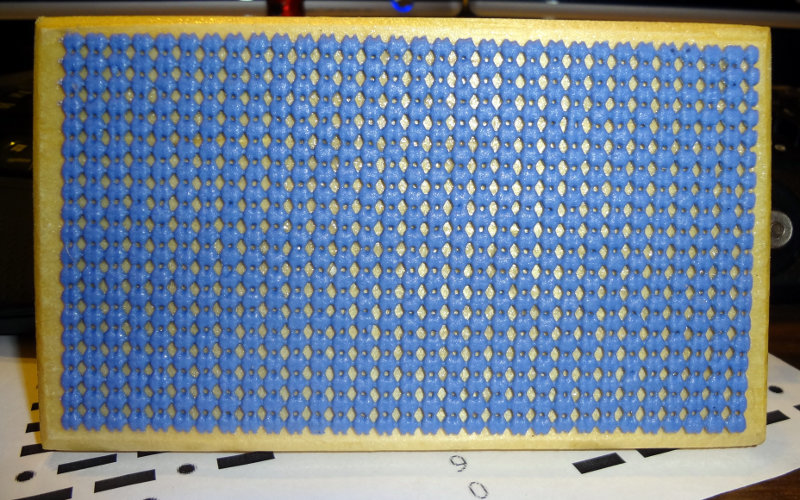
A bit of sanding, a couple coats of spray polyurethane later, and the J-38 was attached to the new base. Some rubber feet on the bottom help keep it from sliding around on the table.

Quite pleased with the way it looks. I like the way the J-38 feels on the new base.

Straight key base

Finally got around to working on making a base for the straight key. I cut off a section of some 1×4 lumber, sanded it nice and smooth, beveled the edges and covered it with a few coats of clear gloss polyurethane.

Straight key base
Straight key base
Straight key base
Straight key base
Straight key mounted on the base

For some grippiness so it doesn’t slide around on the desk, I spray-glued a piece of some rubber shelf liner to the bottom.

Rubber shelf liner for grip

It’s not a heavy base, and I might decide to change it later on to something more interesting looking. For now, it looks reasonably decent and gives the key a slightly bigger footprint and elevates it a little bit for more comfortable use.

Straight key and HD-10 keyer

Connecting the straight key

After going through the manual for the HD-10, I learned that the terminals on the rear of the HD-10 could be used to attach a key. So off to the garage I went to put some terminal connectors on some wires to use to hook up the J-38 key to the HD-10.

It took a couple of tries before I figured out where the wires were supposed to go on the J-38. There are lots of pictures of J-38 keys on the internet, but not too many that show how the wires are supposed to be attached (the terminals are the two on the inside).

J-38 straight key and HD-10 keyer

With everything connected, tapping the key made the keyer make noises and I managed to make some Morse Code sounding noises with the key. Now they can sit on the desk next to me so that I can practice tapping out Morse Code whenever I feel like.

I still need to take the key off the base and clean it up a bit, and then make up a cable that I can use to plug the J-38 into the radio with. Also thinking about seeing if I can find a nice block of wood to attach the J-38 key to for a more solid base and to elevate the key a bit.