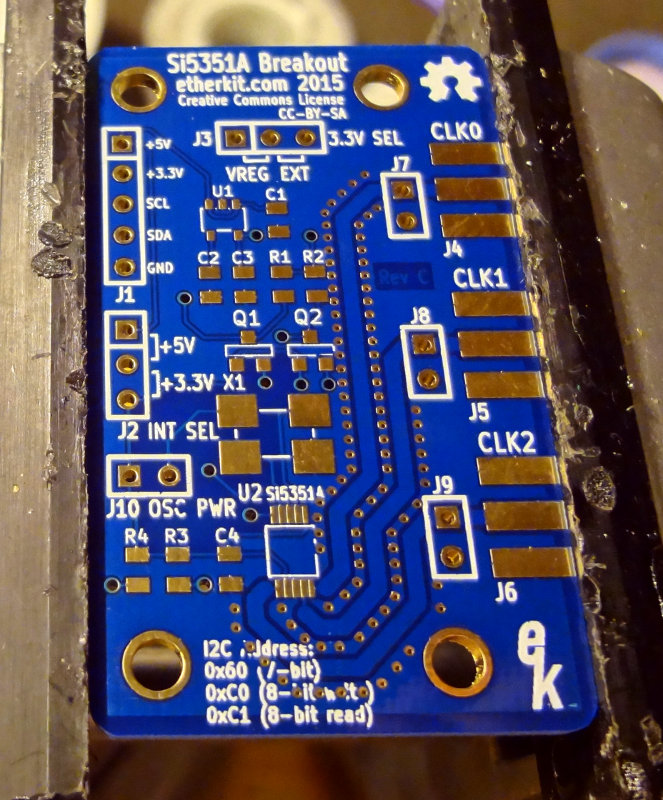
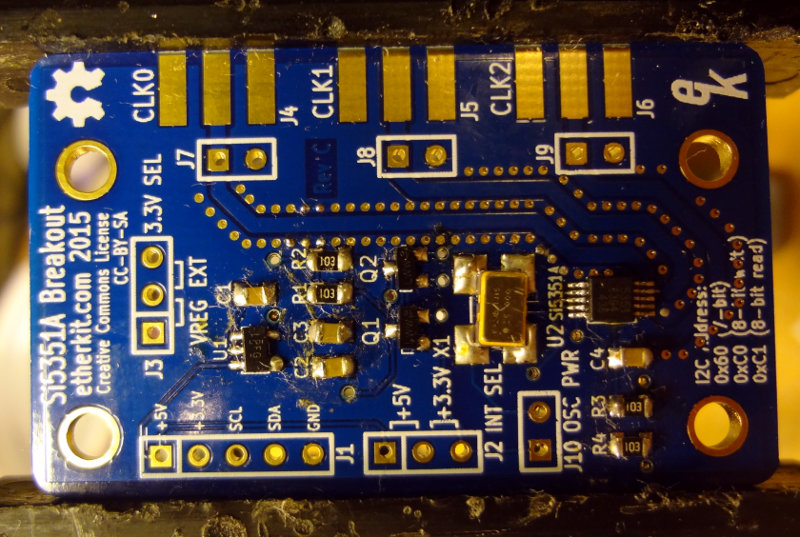
Spent some time at the workbench putting together the Etherkit Si5351 board that arrived the other day.
Although it’s pretty much all surface mount, everything is on one side of the board, and the part count is relatively low so assembly is pretty easy. The fine pitch of the Si5351 chip makes soldering it more challenging, but generous use of solder flux helped the solder flow where it was supposed to go.
After the Si5351 came the TCXO crystal. The large pads make this part relatively easy to solder.
The transistors and 3.3V voltage regulator were the next components to get soldered on. These were pretty easy to do. As with the Si5351, a good amount of solder flux helps with the voltage regulator.
The remaining passive components (4 capacitors and 4 resistors) finish up the surface mount components. These are pretty easy to solder on. Tack down one side with a bit of solder, then solder the other side.
With all the surface mount components on the board, that leaves just the header pins and the edge mount SMA connectors. Easy peasy.
And with that, the Etherkit Si5351 breakout board is finished! Next step is to connect it up to one of my *duinos and see if it works.
I have two more boards to assemble, and some of the things I learned assembling this one should make the other two a little smoother.
Discover more from AB4UG Radioblog
Subscribe to get the latest posts sent to your email.


