I've been wanting something small and portable that I could carry around with me for doing Morse Code practice. The Heathkit HD-10 oscillator is fun to play with, but kind of big and chunky to haul around. The ARRL code oscillator is small and portable, but the buzzing sound gets kind of unpleasant to listen to after a while.
Then I found Jason's/NT7S schematics for his code practice oscillator (CPO) in his blog and decided to build one. I gathered up the pieces and tried to assemble it on a breadboard a while ago but got distracted by other things and never quite finished.
With the acquisition of some solderable mini-breadboards from SparkFun and the perma-protoboards from Adafruit, it was time to get back to the project. The Sparkfun mini breadboard fits perfectly on top of one of their modular mini breadboards so I put the solderable breadboard on top of the modular breadboard and started laying out the components. Then, once I'm done all I have to do is carefully lift the solderable breadboard off the modular breadboard and then solder away.
After spending some time staring at the schematic and the breadboard pondering how to lay things out, I remembered a suggestion from the kit building forum at the ARRL Centennial Convention. Build modularly and test as you go so that if something doesn't work, it's easier to isolate the problem area.
With this in mind, I started with the power section of the schematic and laid that out in one corner of the board. Add power, flip the switch, LED comes on. Perfect!
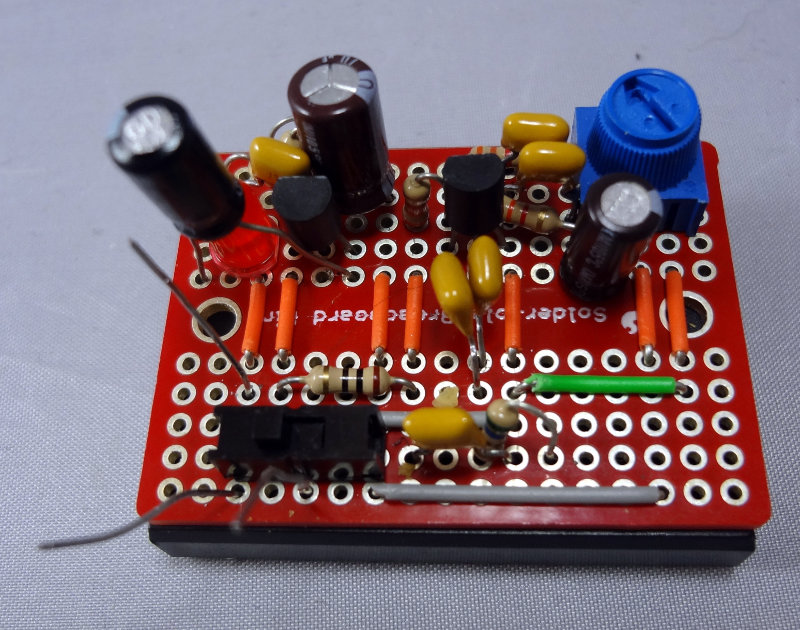
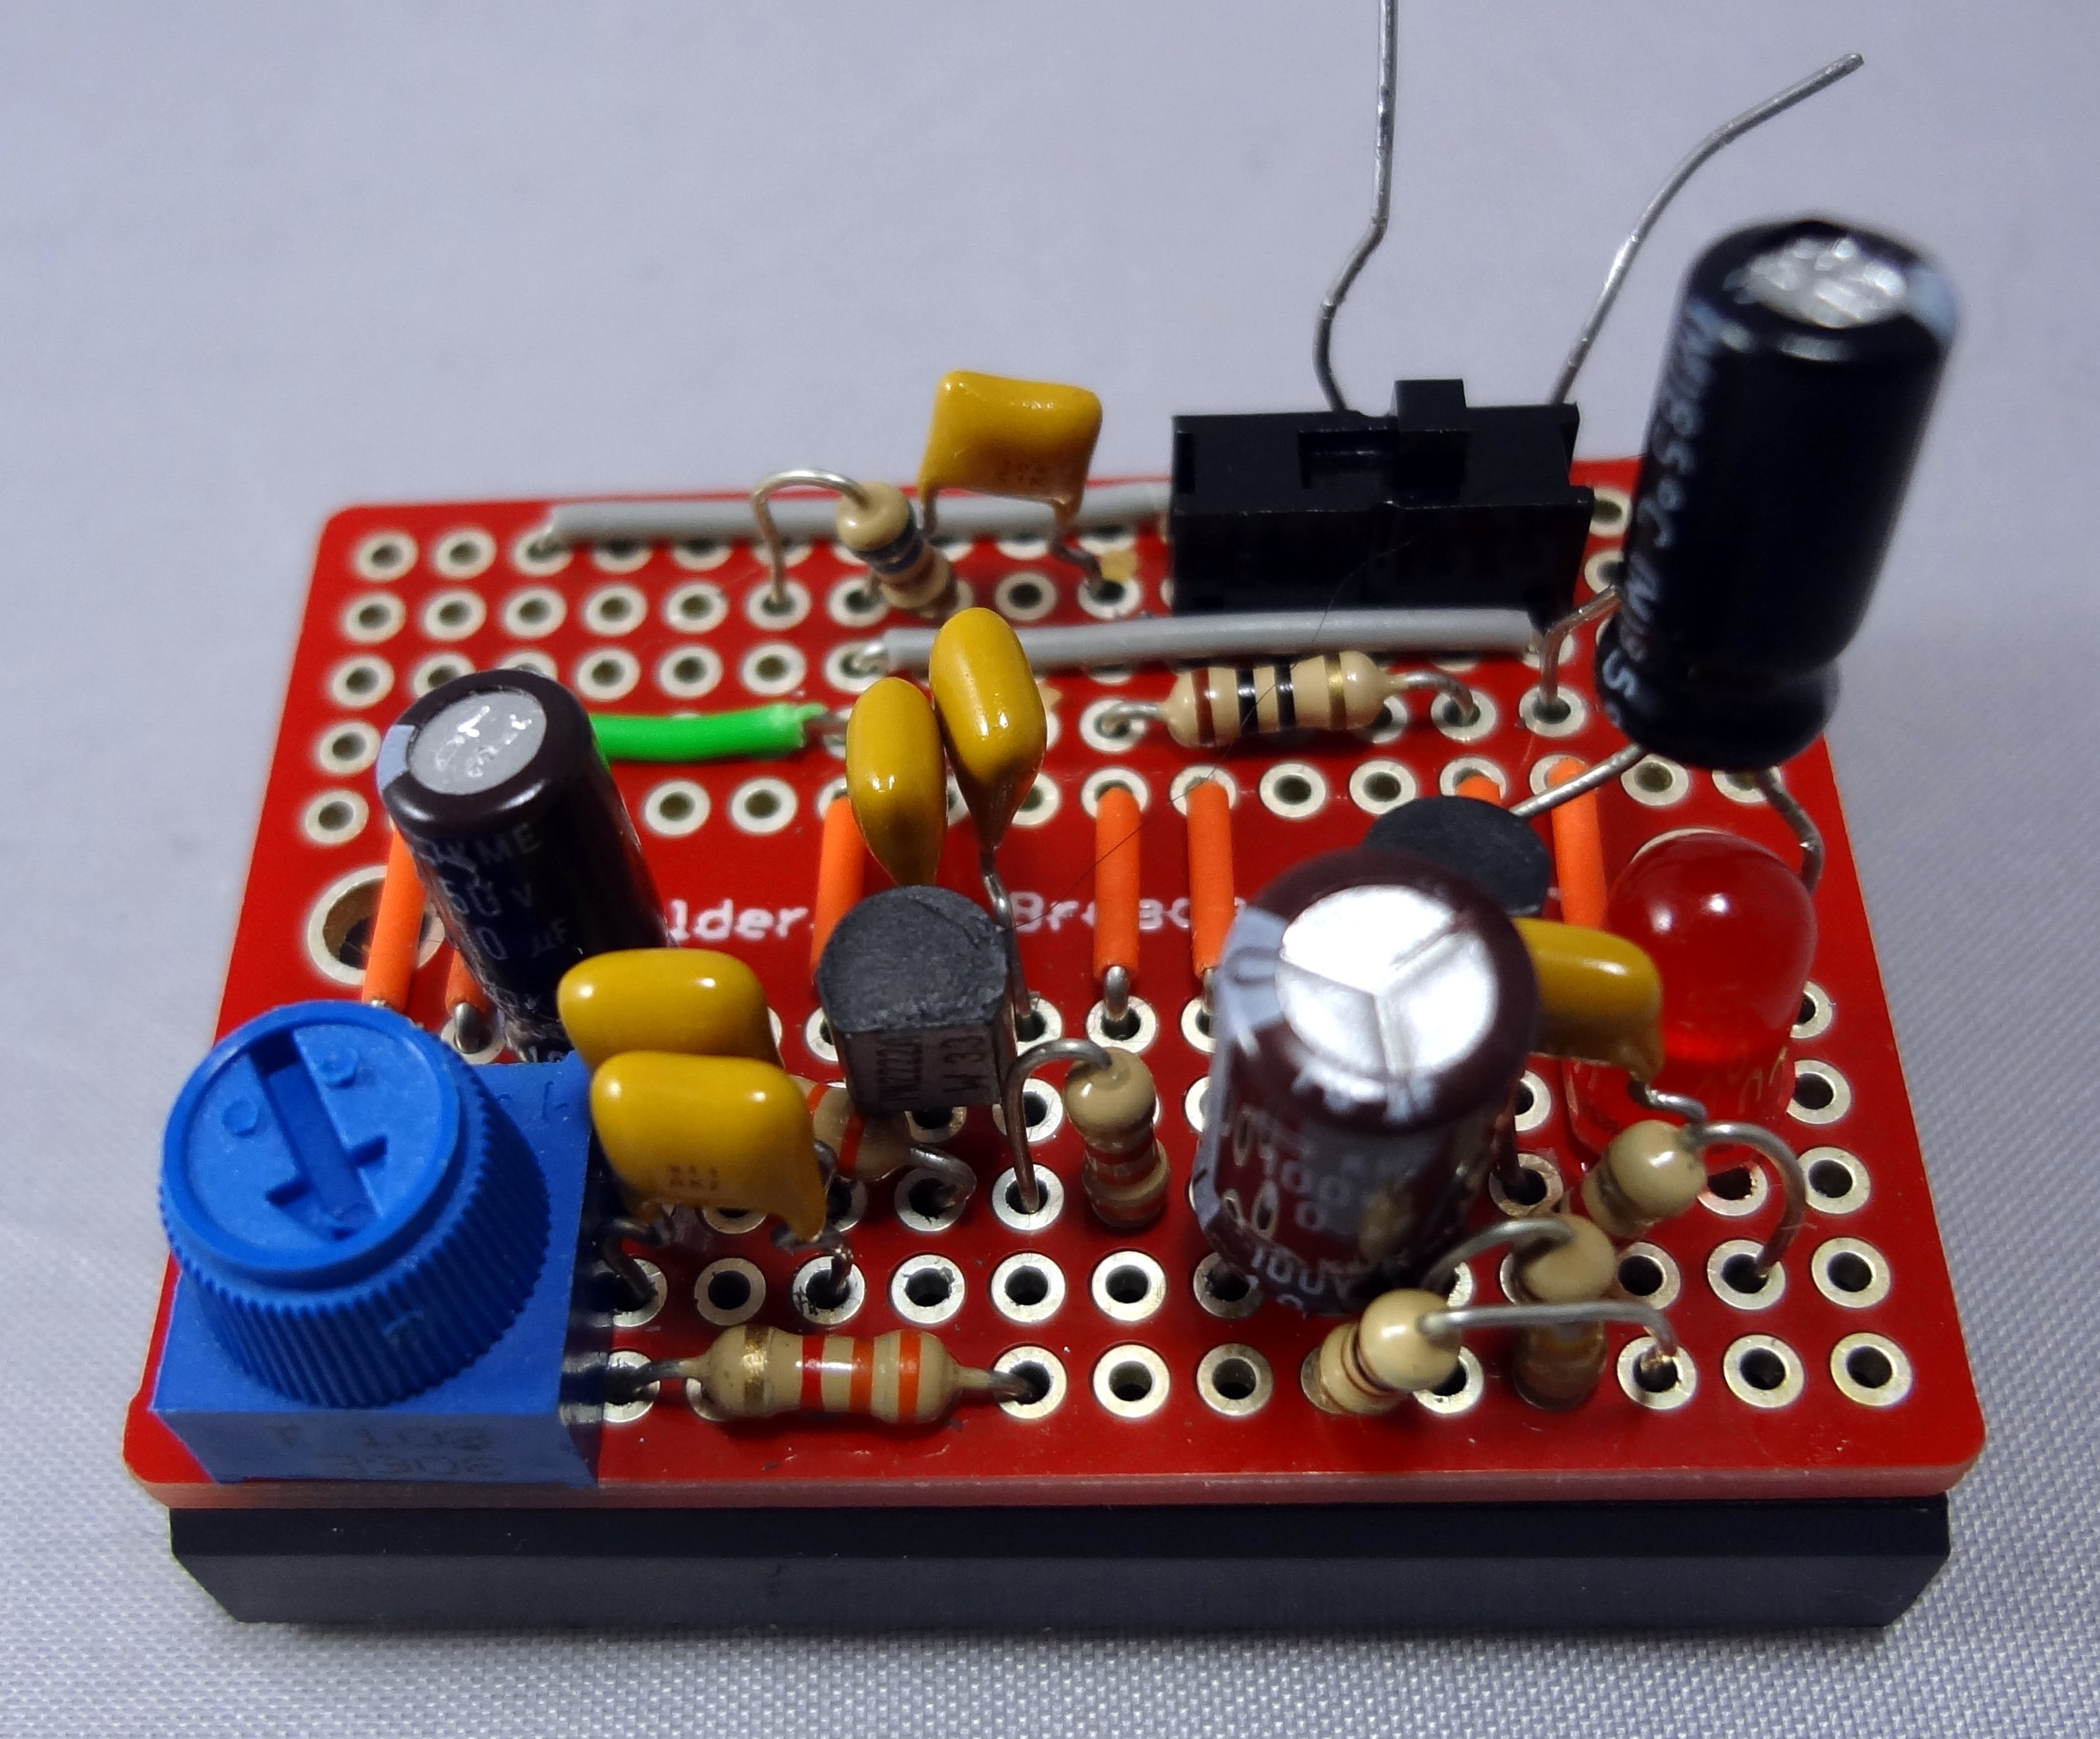
The CPO is small and simple enough so that the rest of the circuit pretty much falls into place after that. After a few hours of placing components, double checking placement and debugging, I finally managed to get it working.
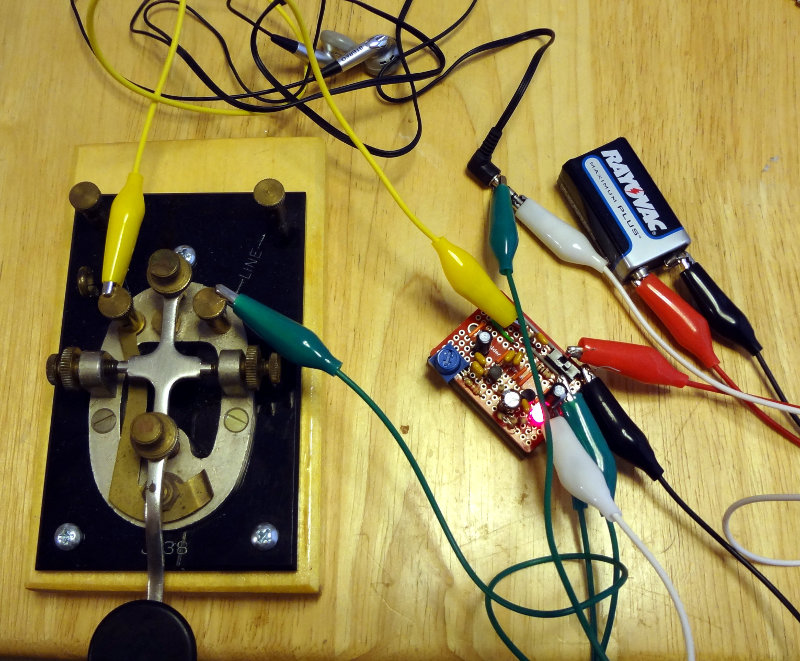
With a few wires, I connected my straight key and connected straight to the plug of some ear buds I had lying around. Tapping on the key yielded some pleasant sounding tones, and turning the pot changed the volume (and frequency a tiny bit).
Now all I need to do is solder everything into place, add some jacks and stick it into an enclosure.
A nice, easy build and I was able to do it all with parts I had on hand.
Comments